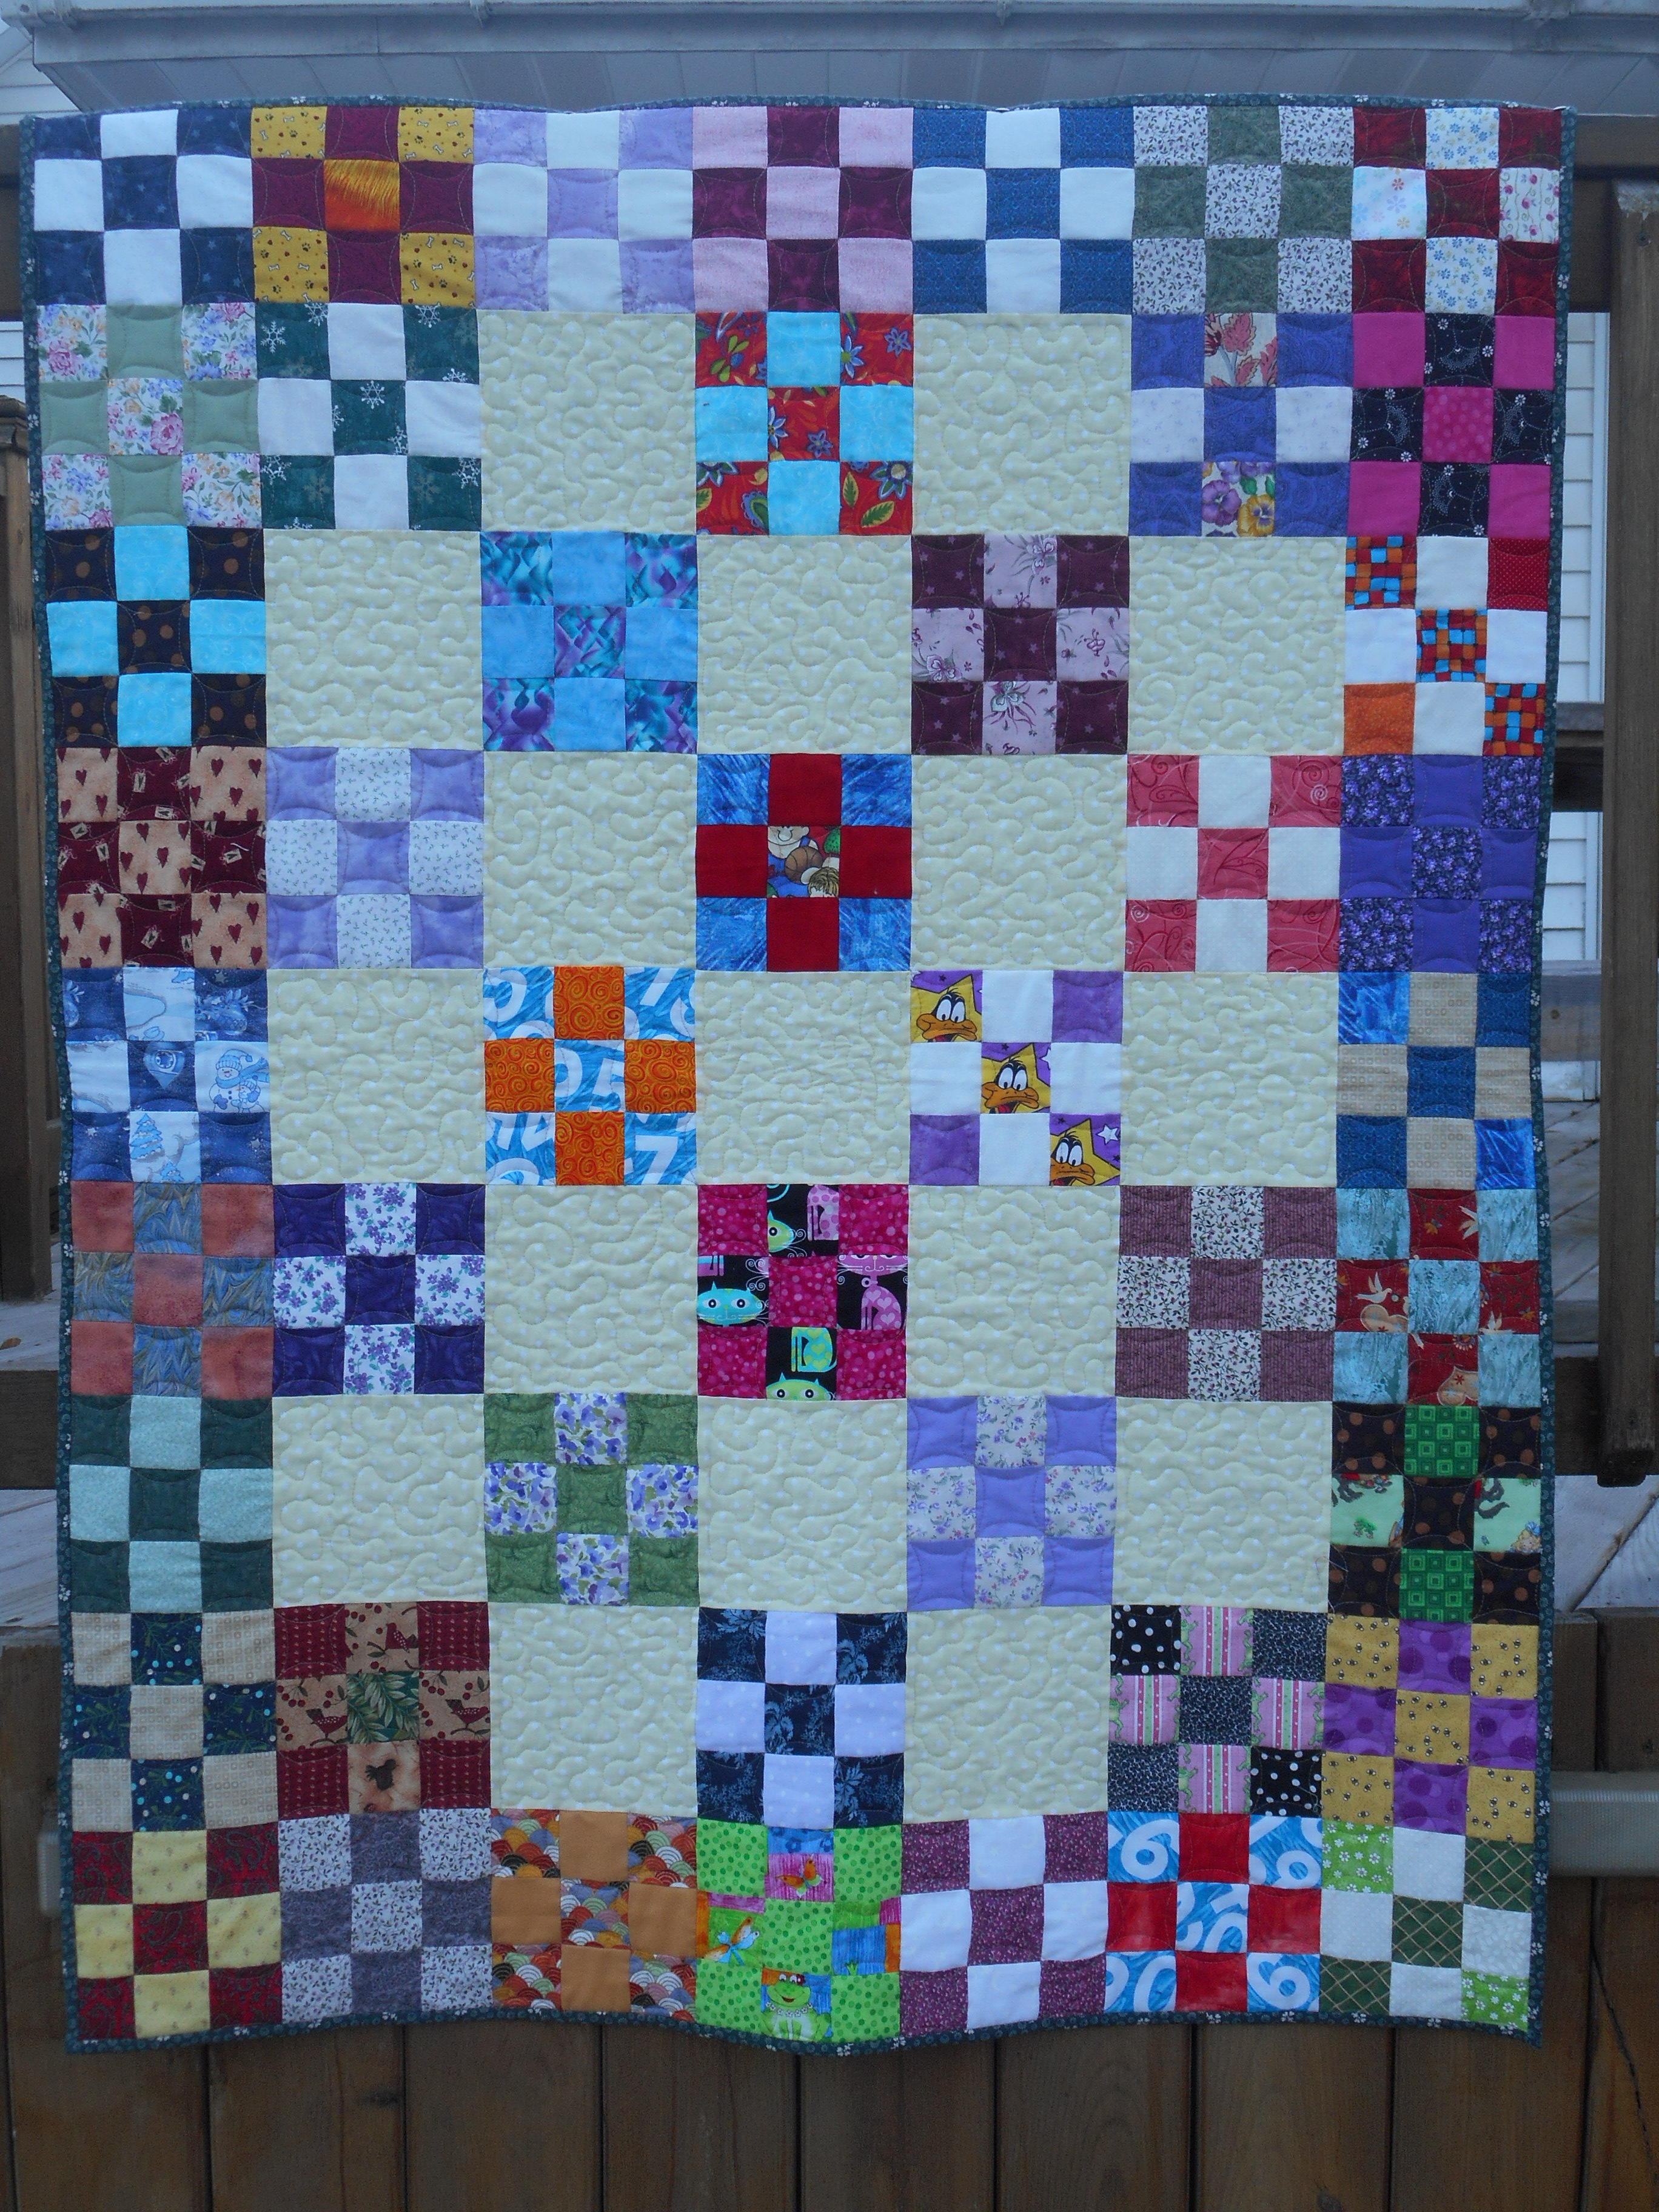
My two sisters and I collaborated on another baby quilt to commemorate the birth of our great-niece. Even though we live close to one another, it can be challenging to work on a project together. We each have our own activities and projects on which to work. But, we break the project down into manageable tasks.
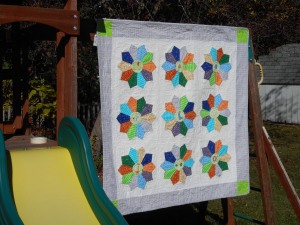
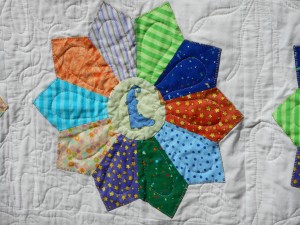
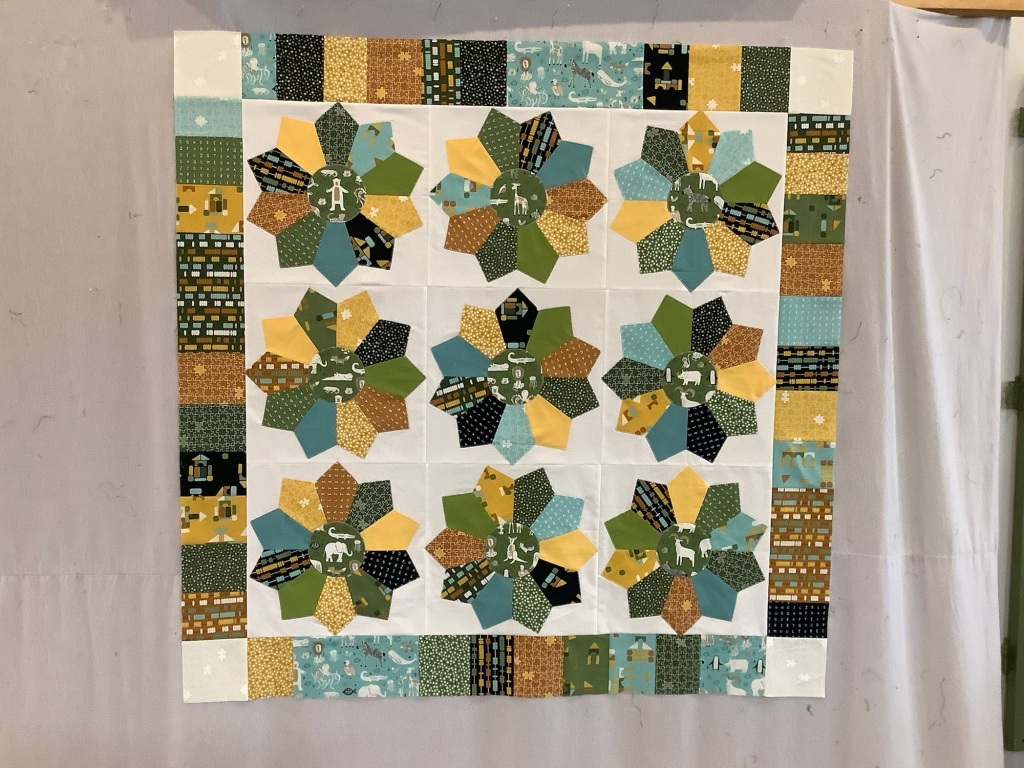
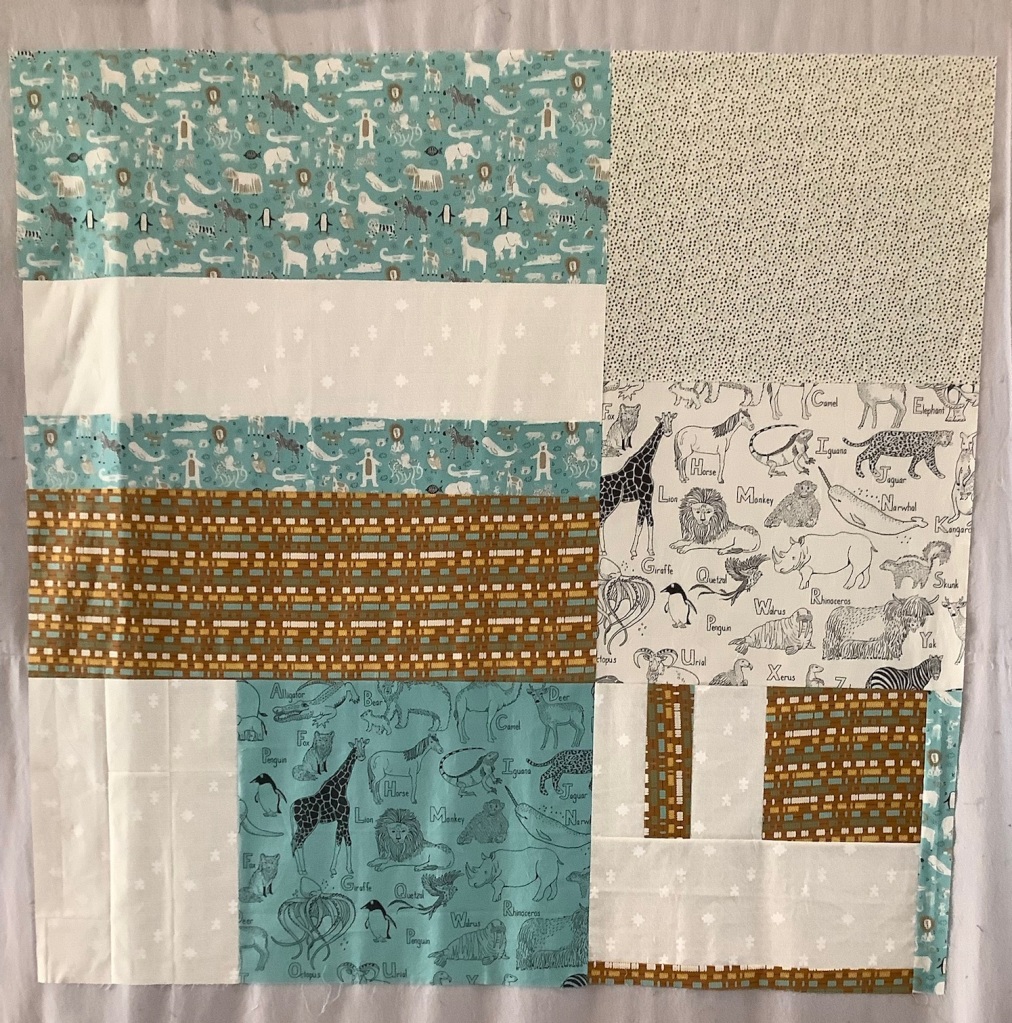
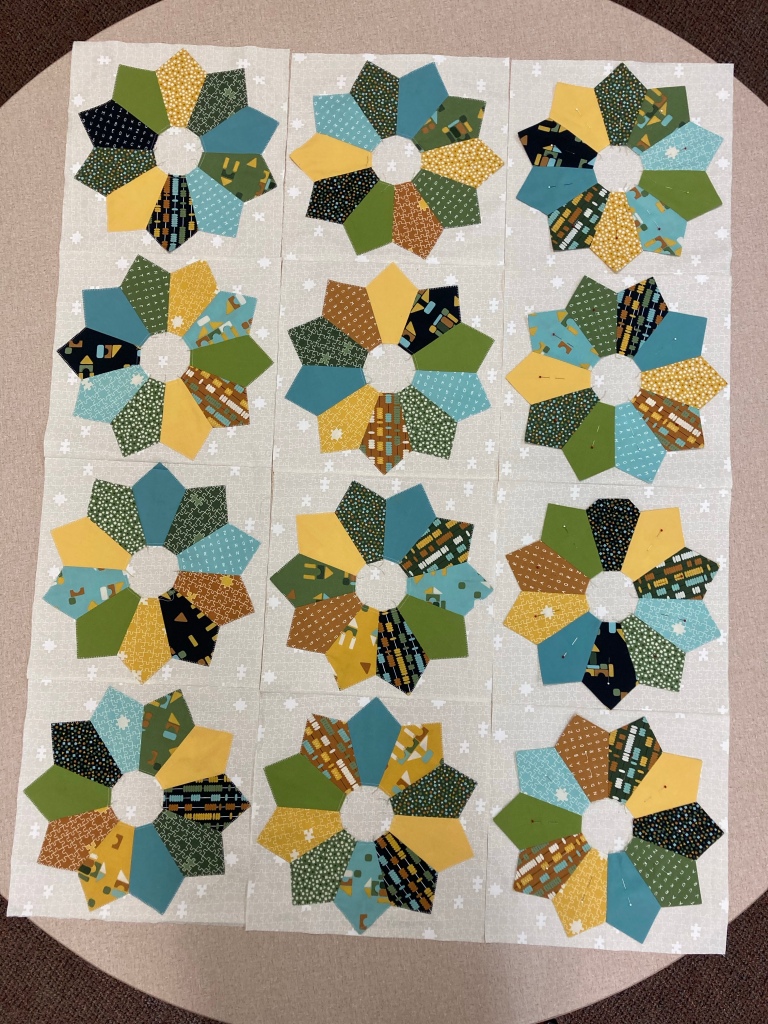
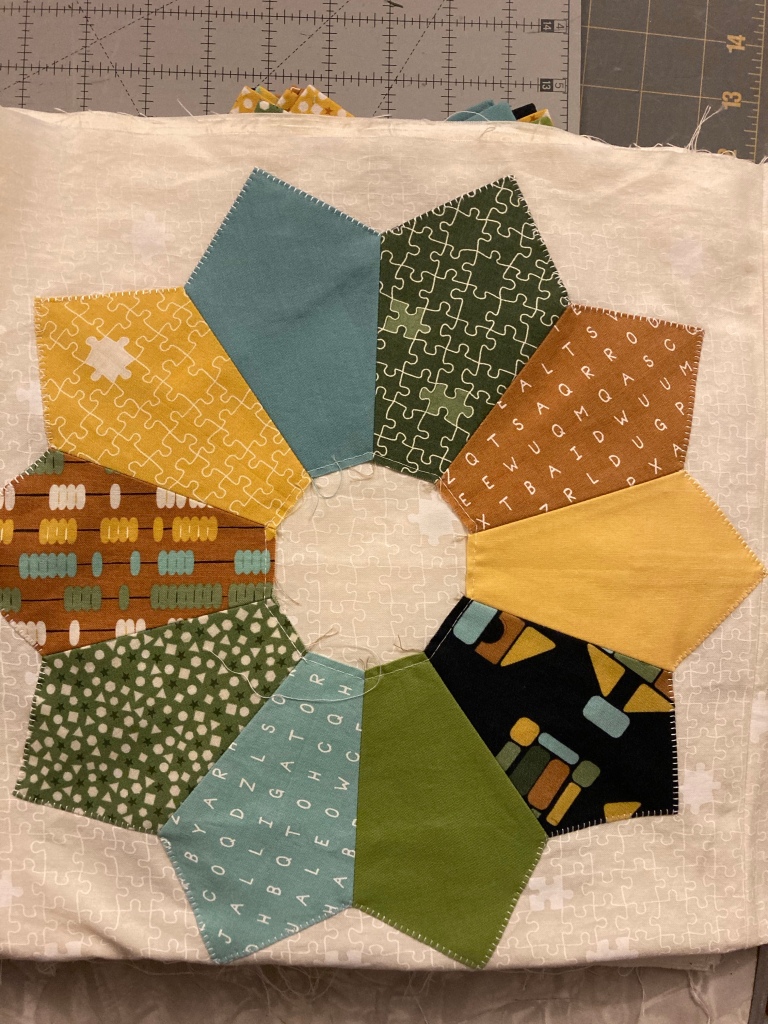
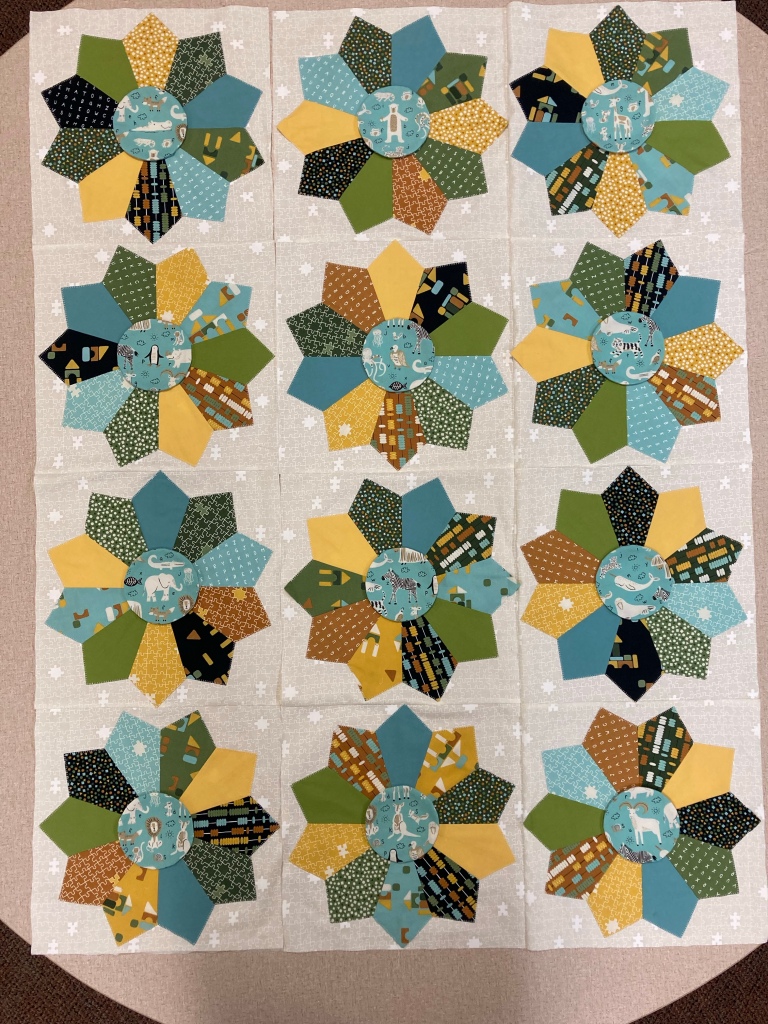
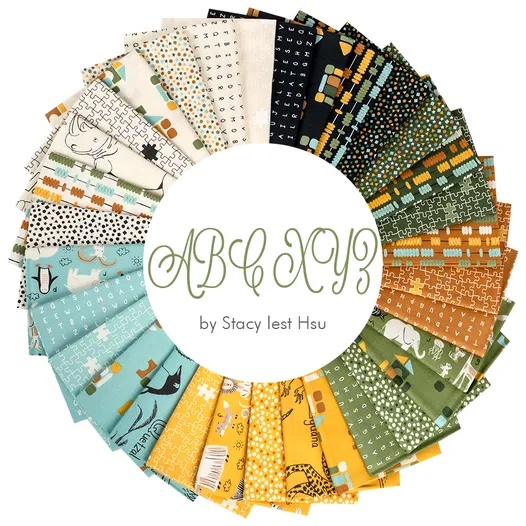
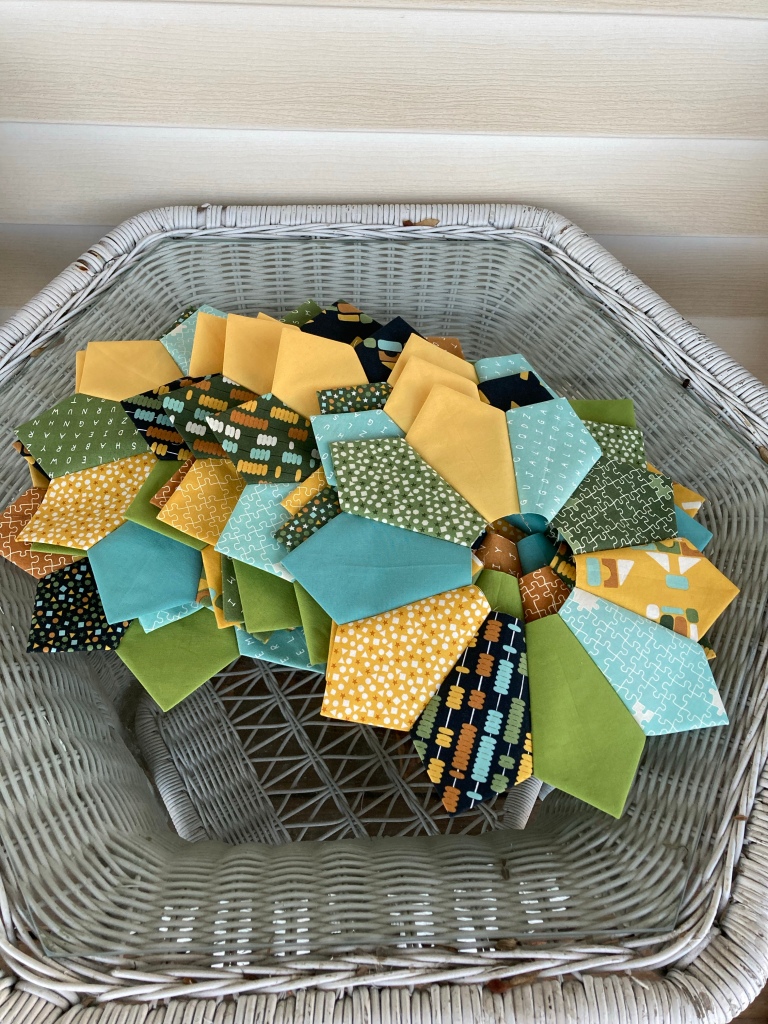
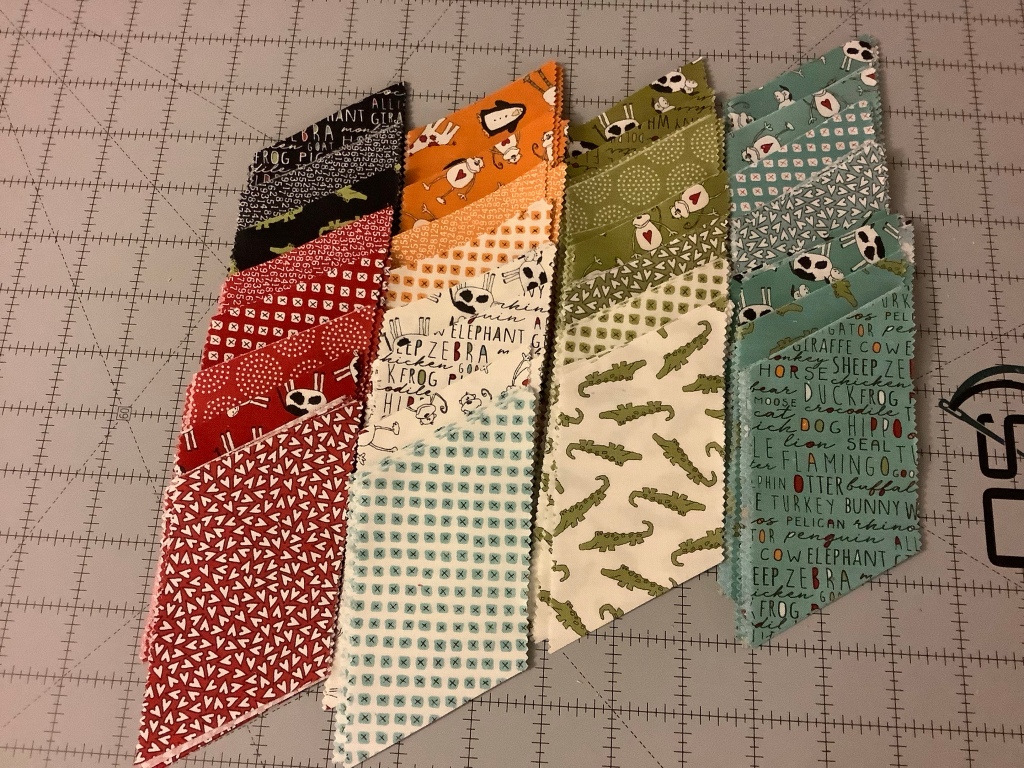
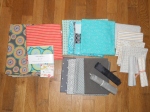
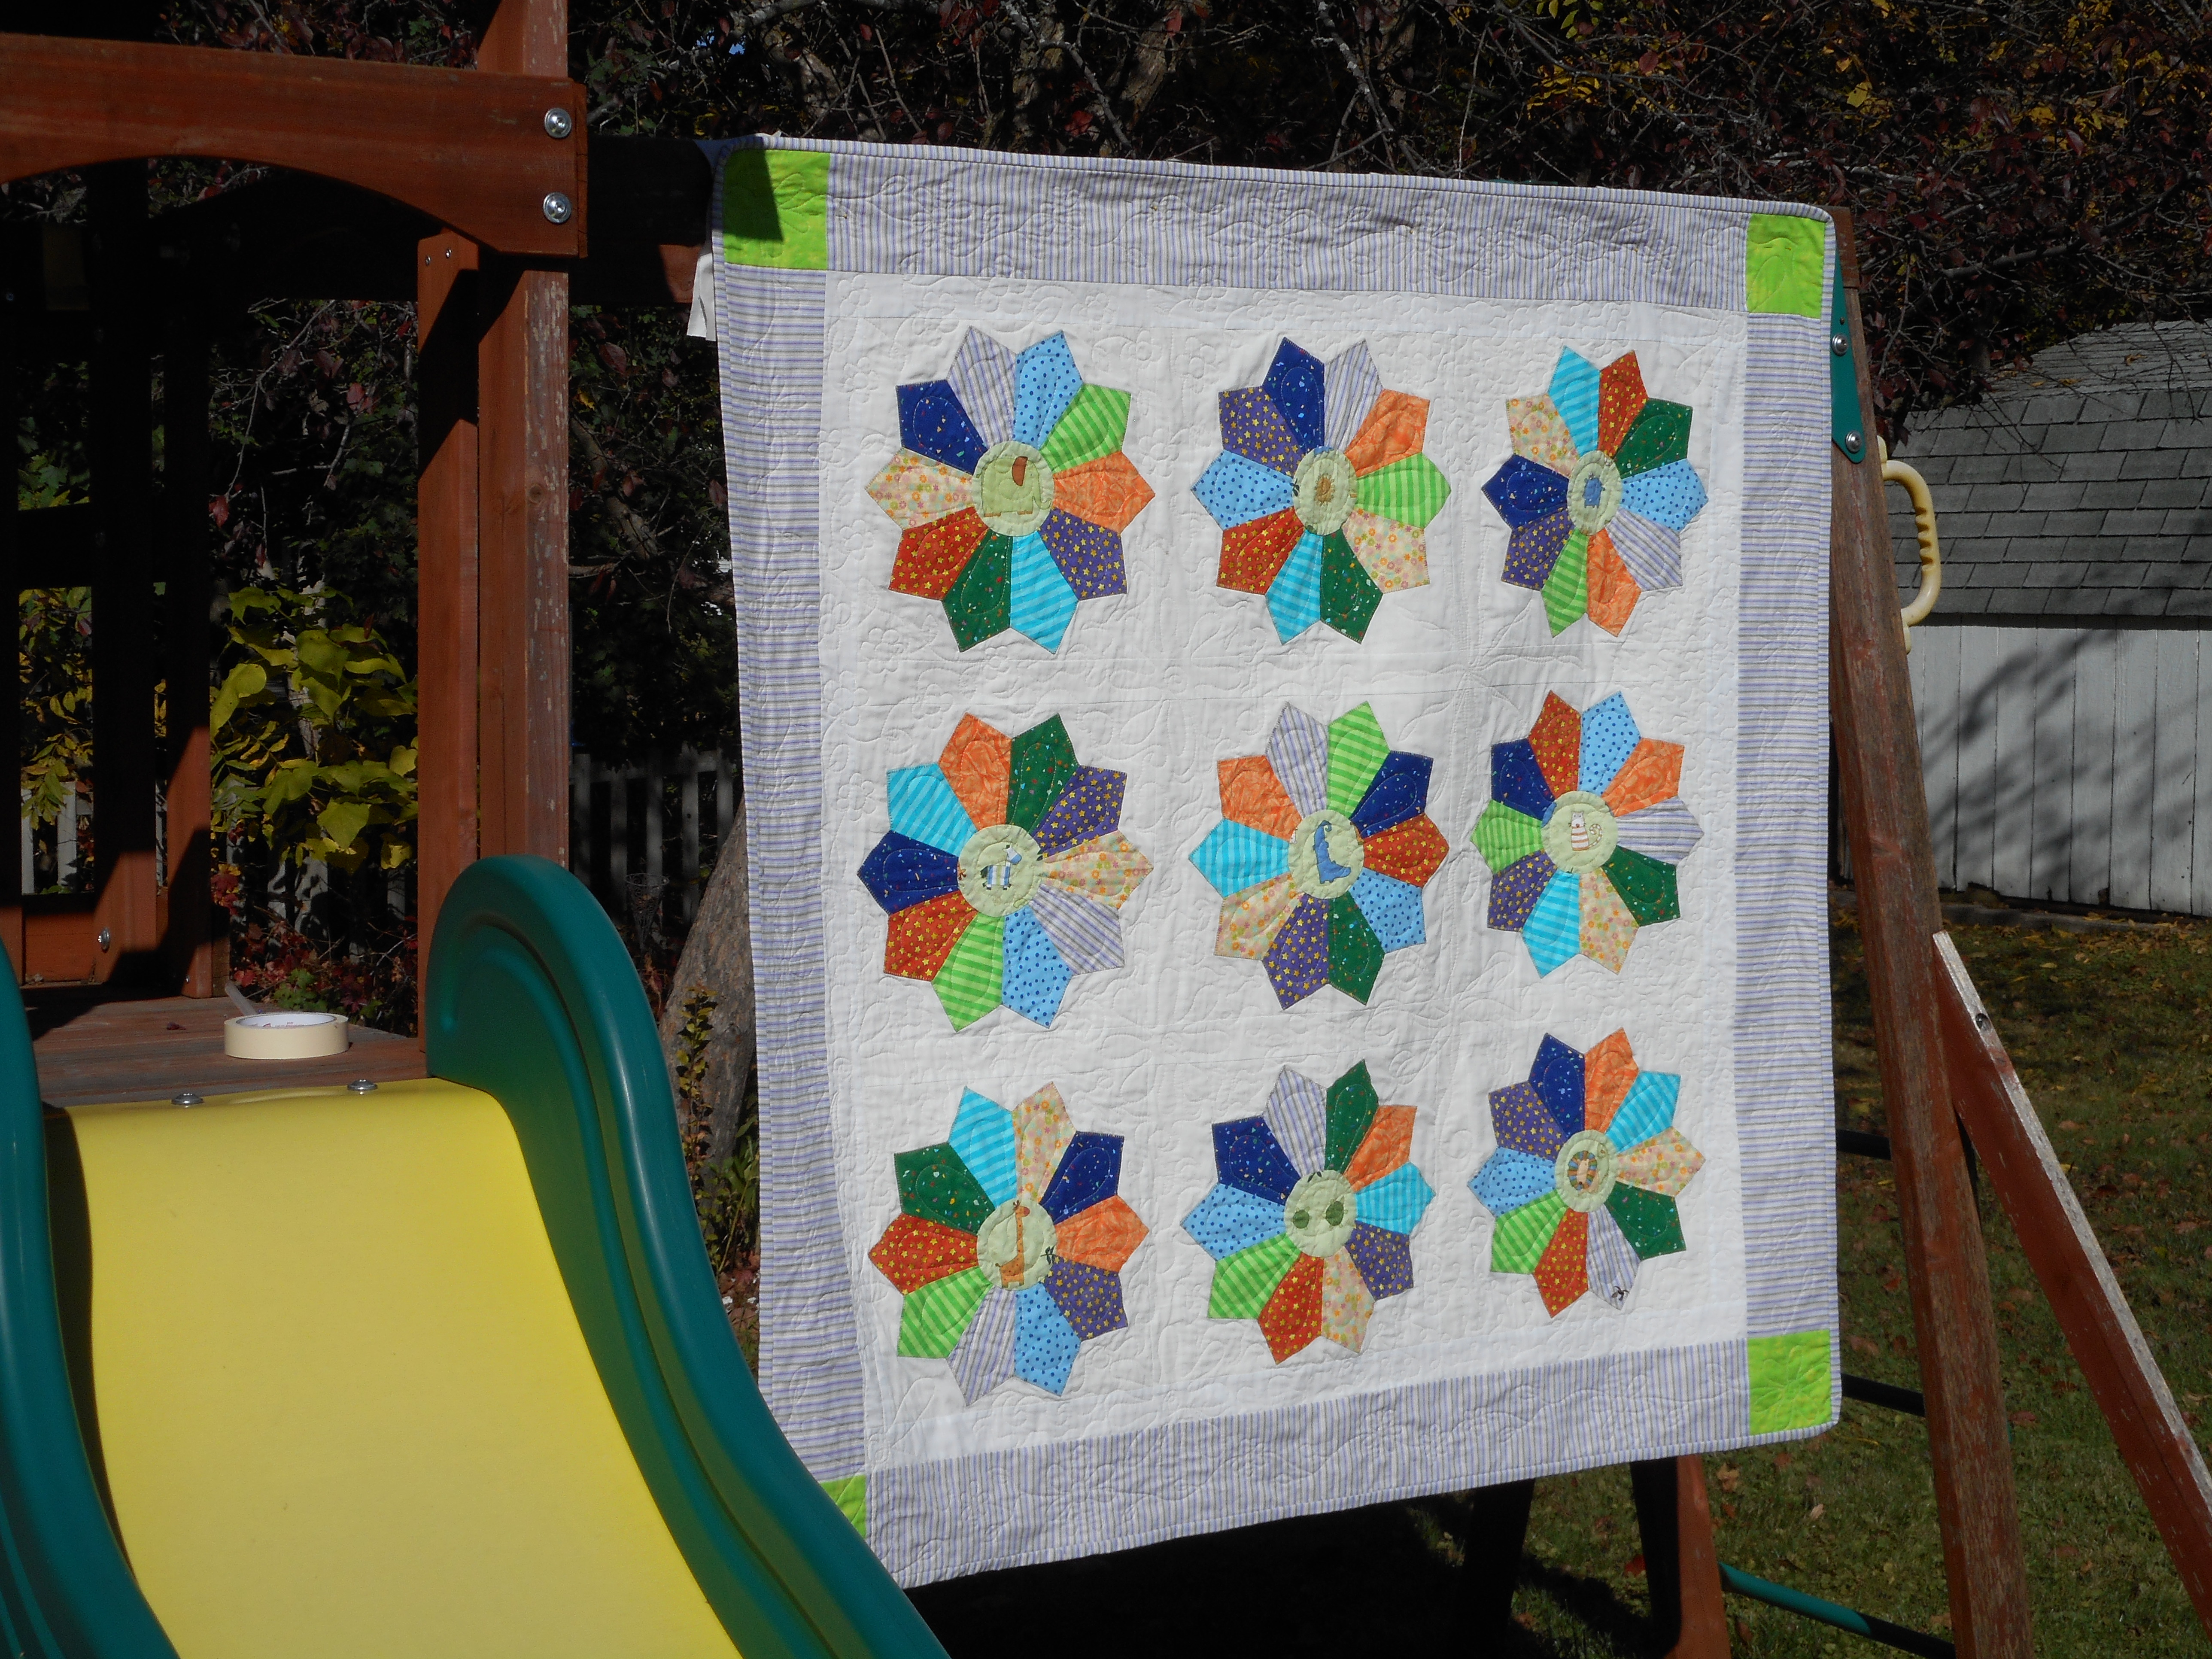
I love making baby quilts and found a cute pattern, Tangerine Zoo, designed by Brandi Frey, in Fons & Porter’s Scrap Quilts Summer 2012. The quilt has nine Dresdan plate blocks with fussy cut zoo animal patches in the center. The pattern used a fabric with an orange background, thus the name “Tangerine” Zoo. I had a fabric with zoo animals in a light green color. We each contributed bright colored fat quarters from our stash to audition. After selecting fabrics, my oldest sister & I took them home to cut out and stitch up the Dresdan plates.
About every month or so, we get together to sew and used this time to work on the Dresdan Zoo quilt. Some of you may have followed the progress in previous blog posts HERE, HERE, and HERE. At this time, I was taking a class on Craftsy on how to make creative quilt backs by Elizabeth Hartman. I used this information to make the quilt back and posted about it HERE. The quilt was now ready for the final quilting stitches.
Enter my younger sister, who has recently begun quilting and taken a fancy for machine quilting. She has always been creative and enjoyed drawing. To her, free motion quilting (FMQ) is like drawing on fabric. She is the resident quilter for our collaboration quilts, but was in the process of quilting two other quilts for her grandchildren. That left the quilt in limbo for several months.
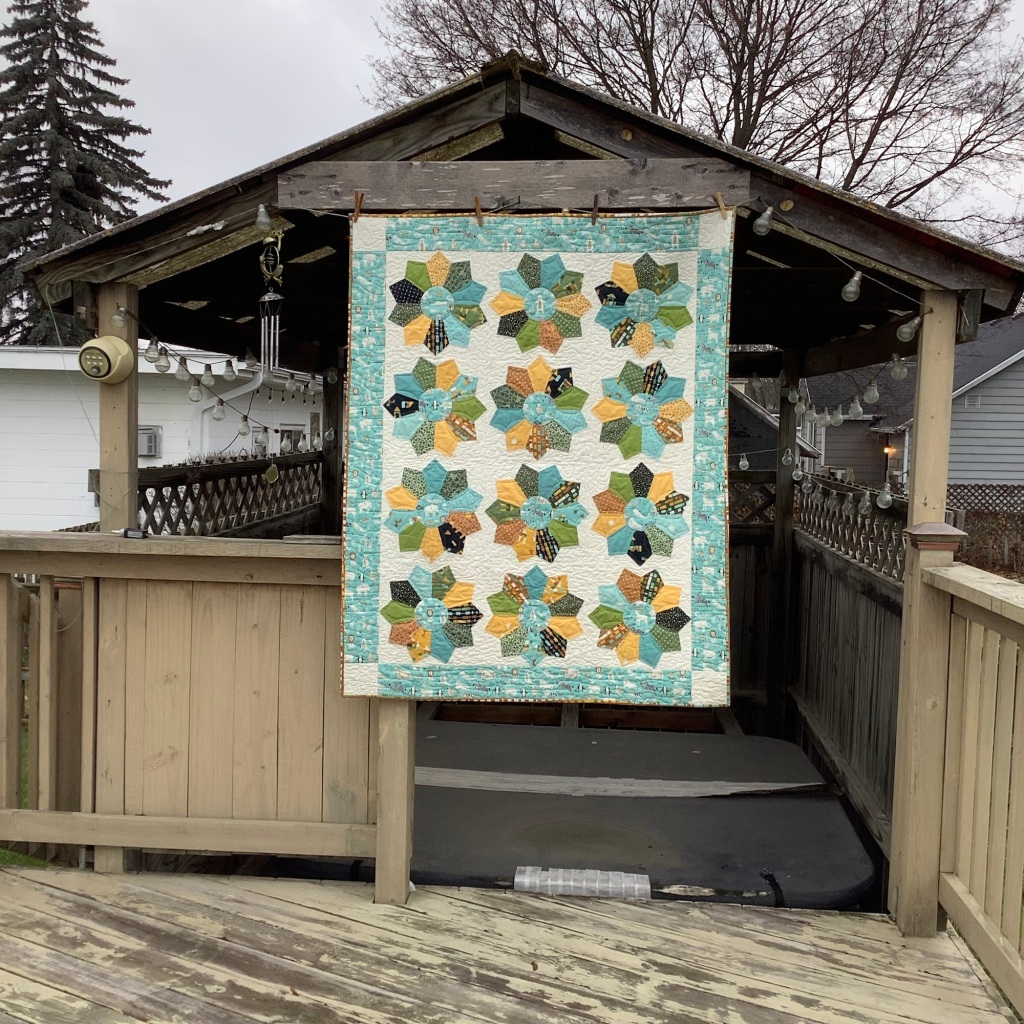
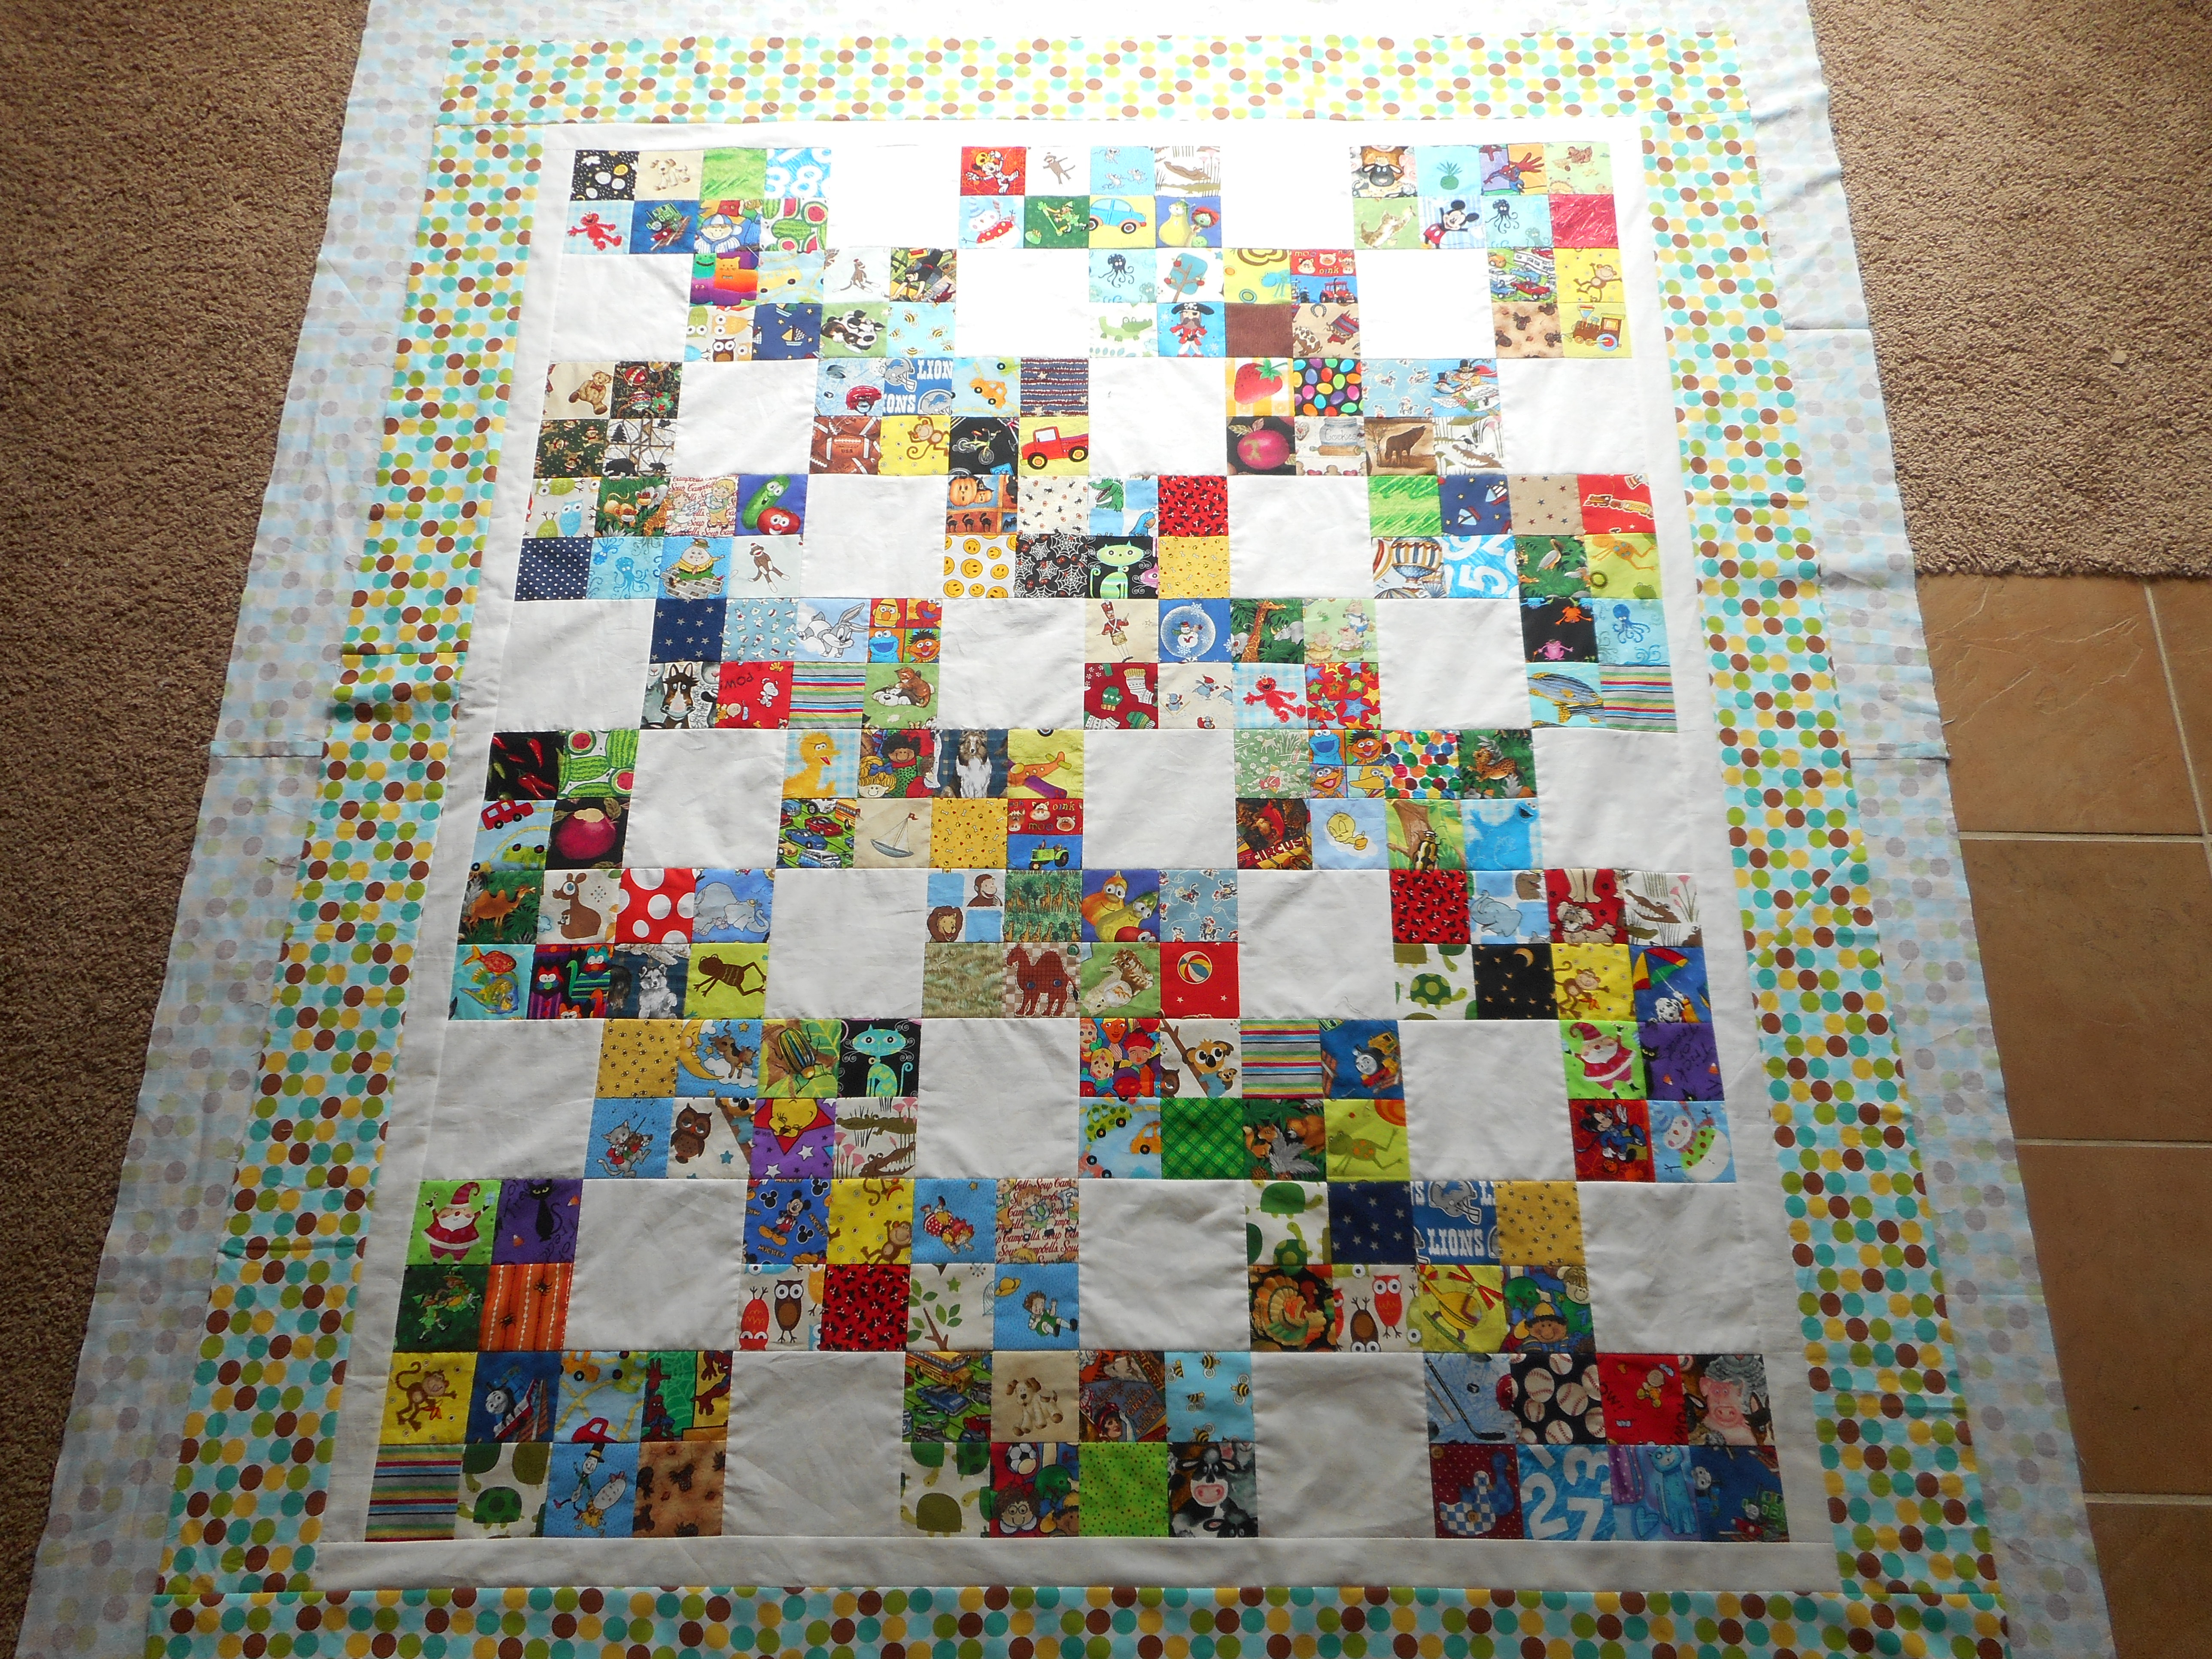
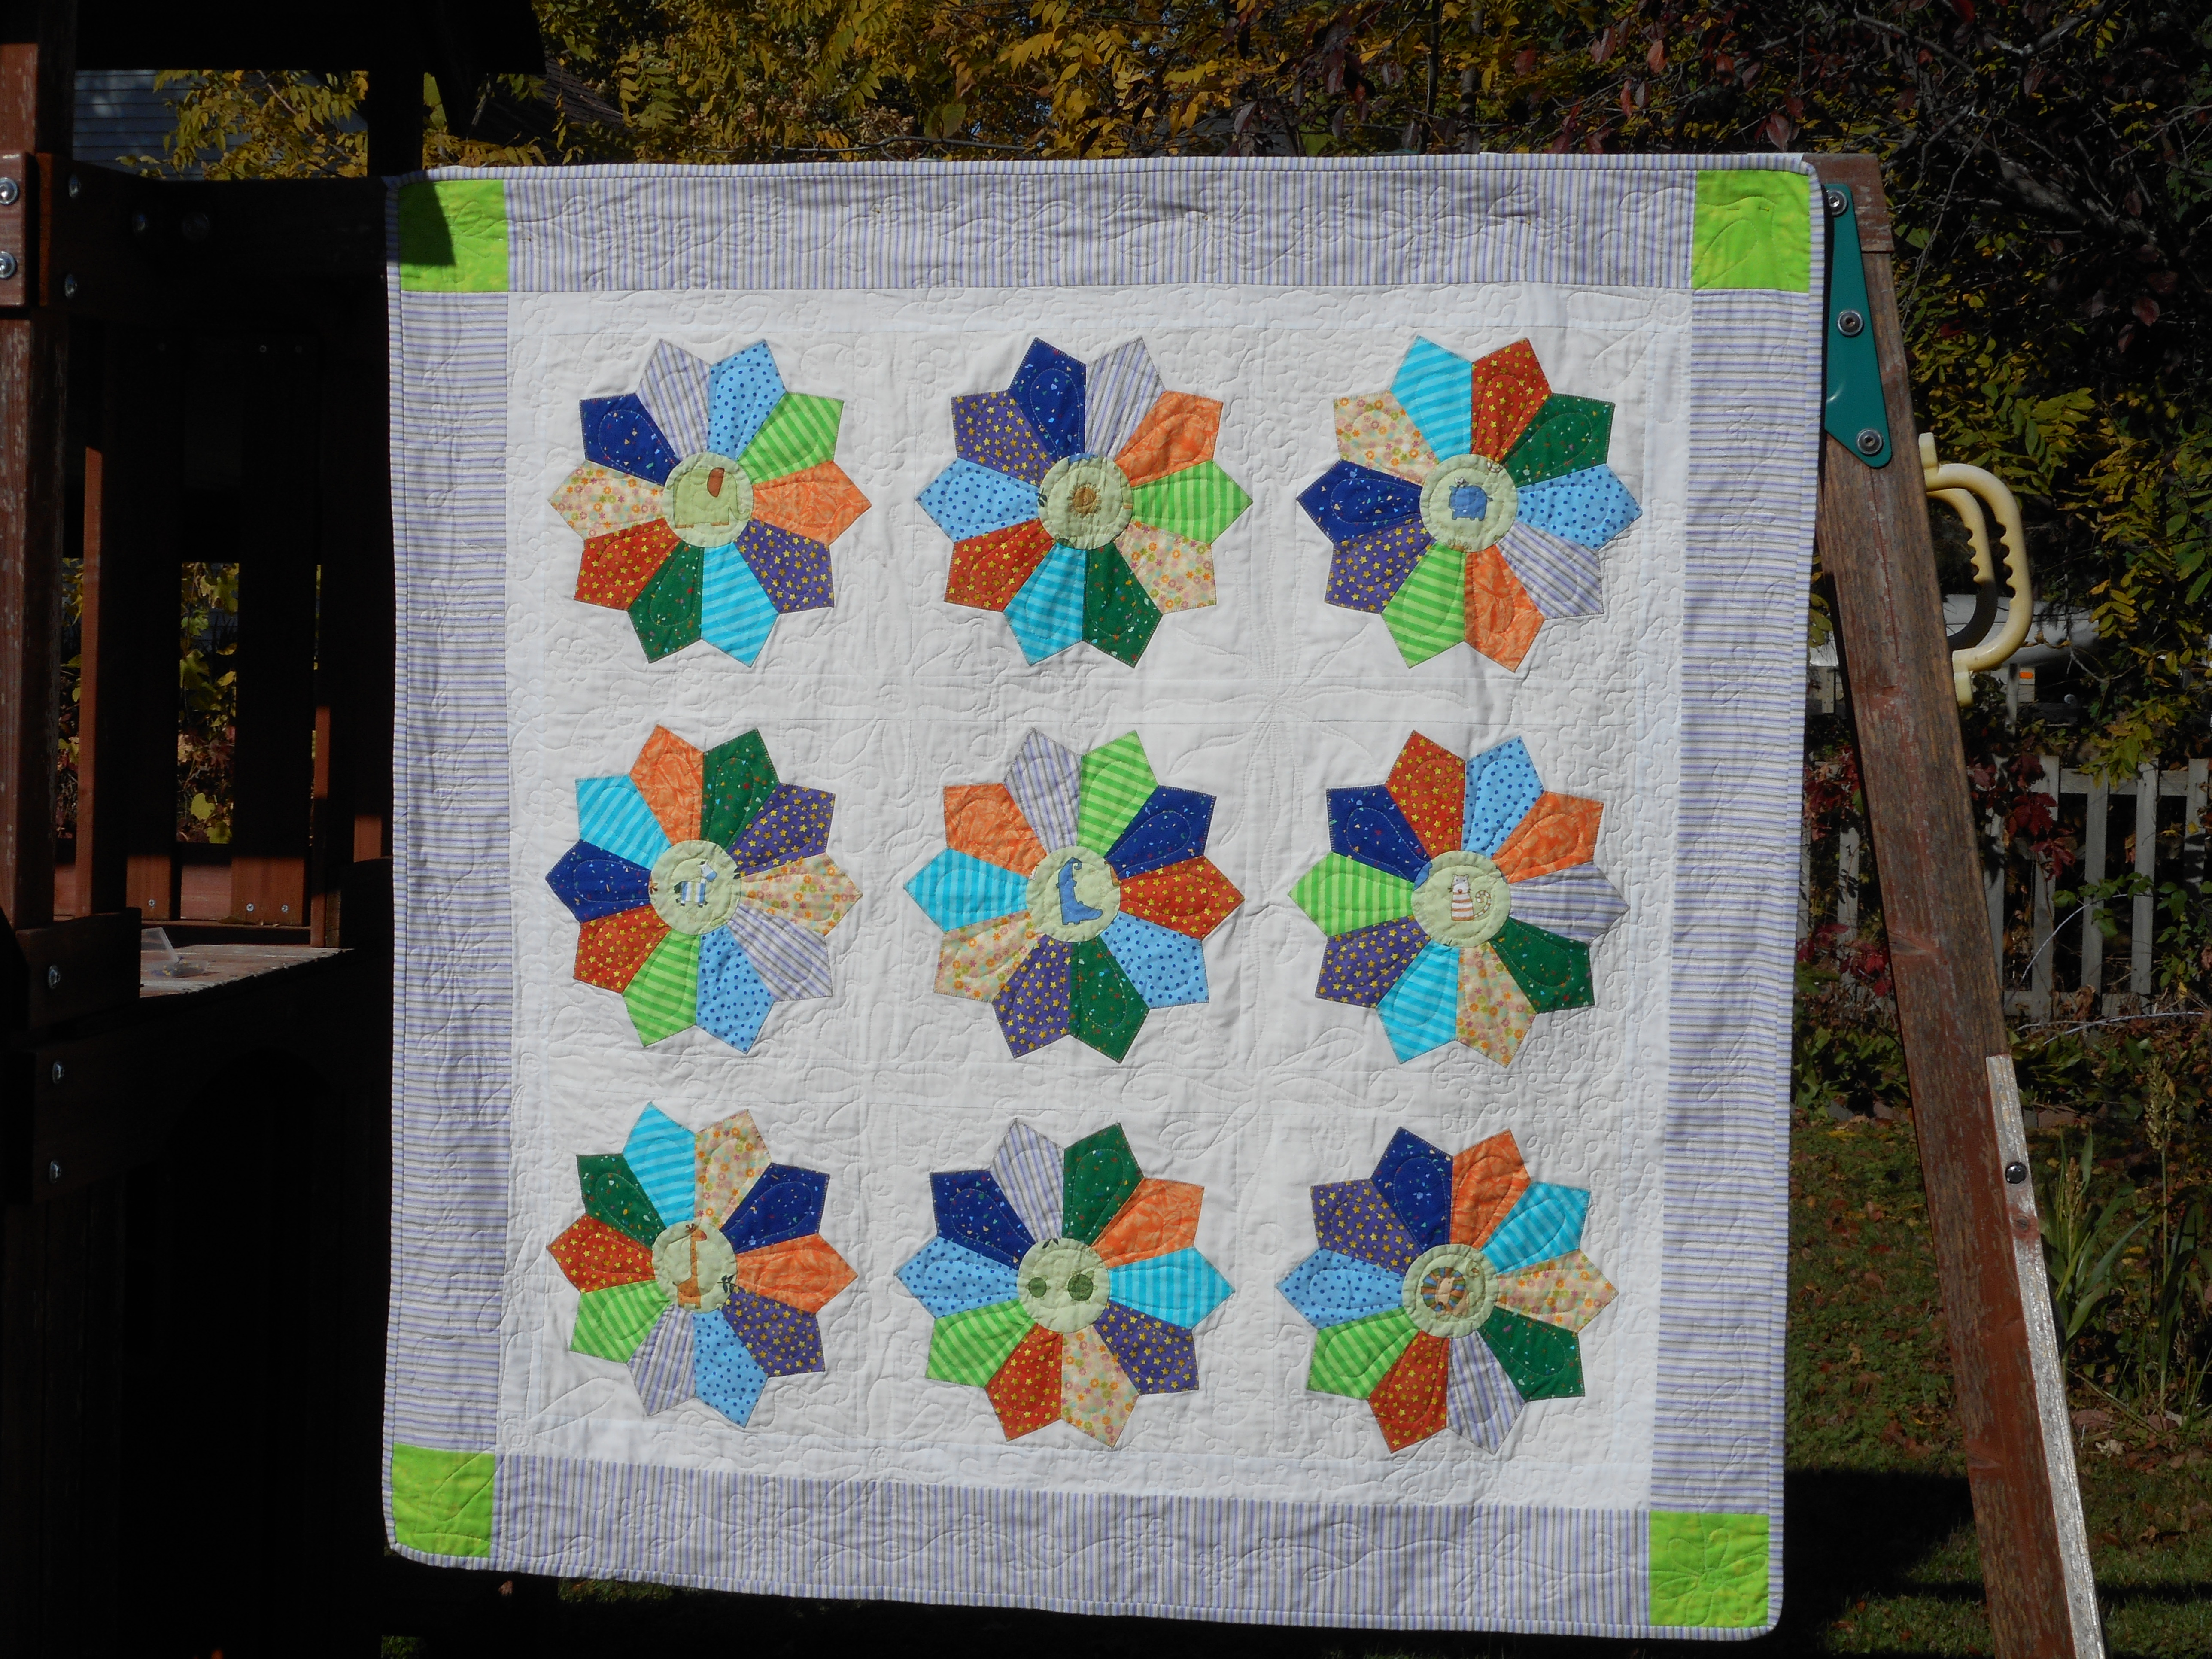
Last month, she finished the quilting and the binding was added. Today, I am adding the quilt label. The sunshine was bright and the weather beautiful, so I spent time outside snapping photographs to document our second quilt collaboration. Here are several different angles and close-ups for you to enjoy.

Dresdan Zoo Baby Quilt
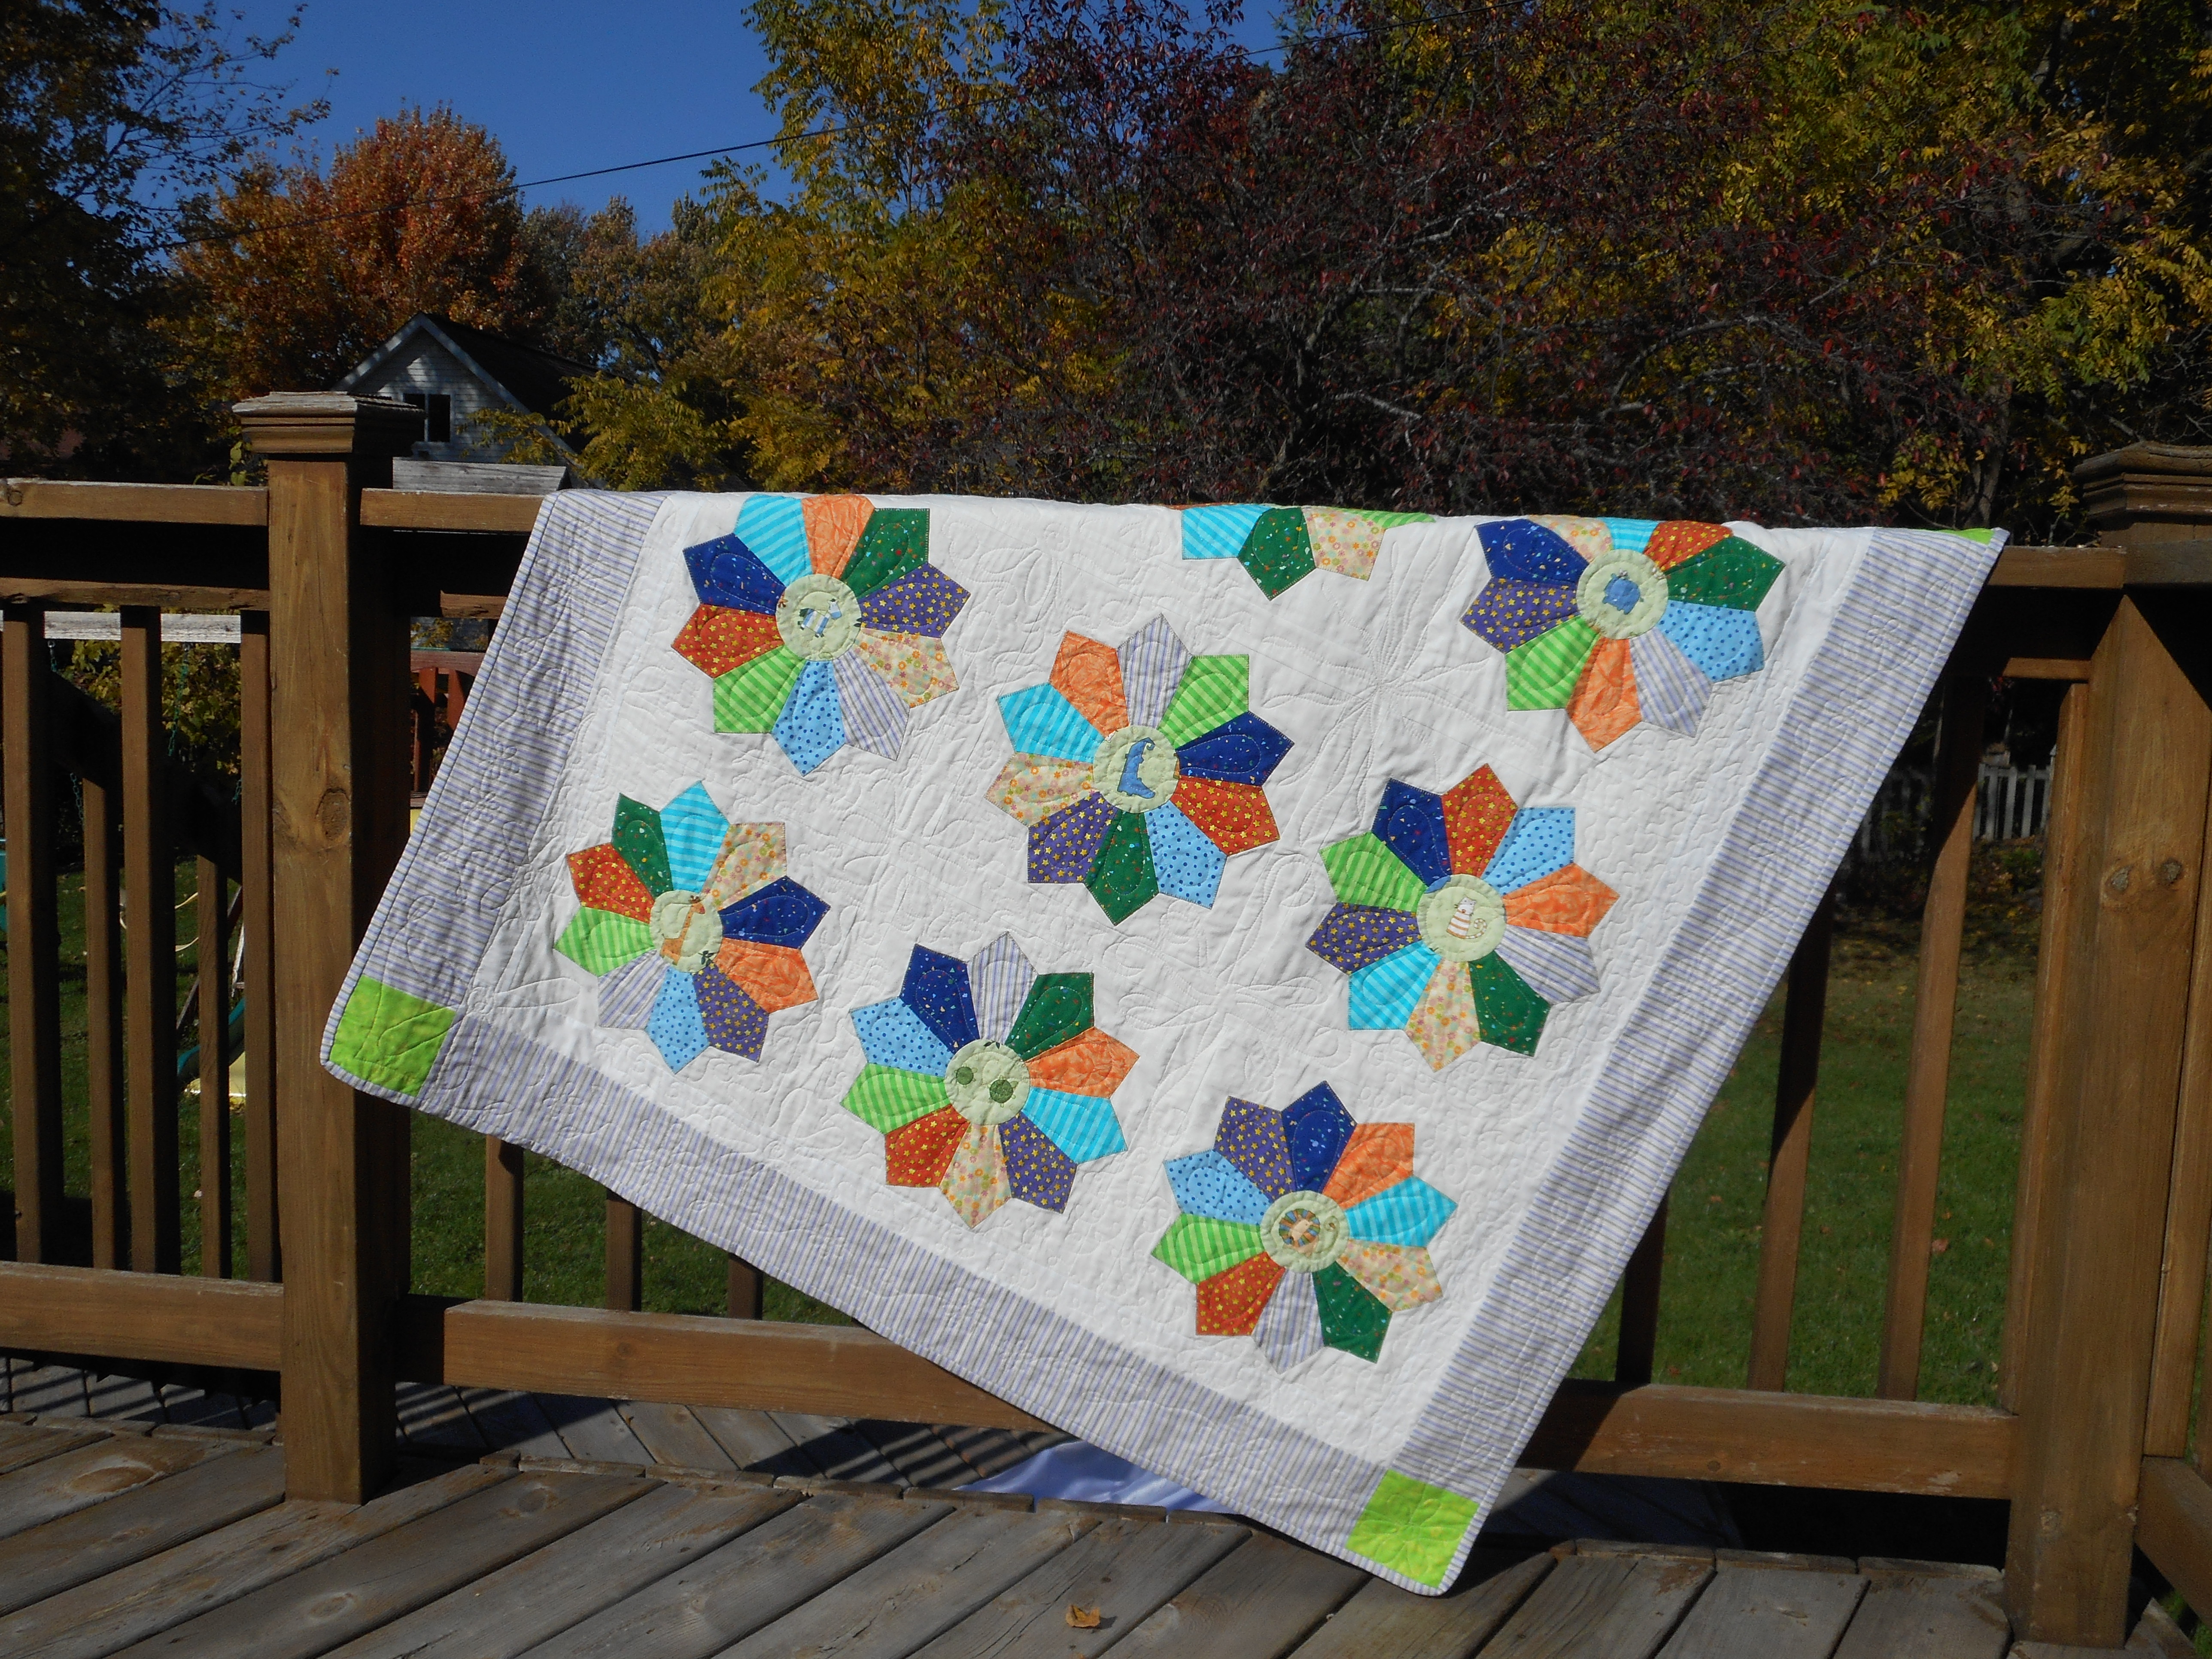
A sidelong view of the quilt

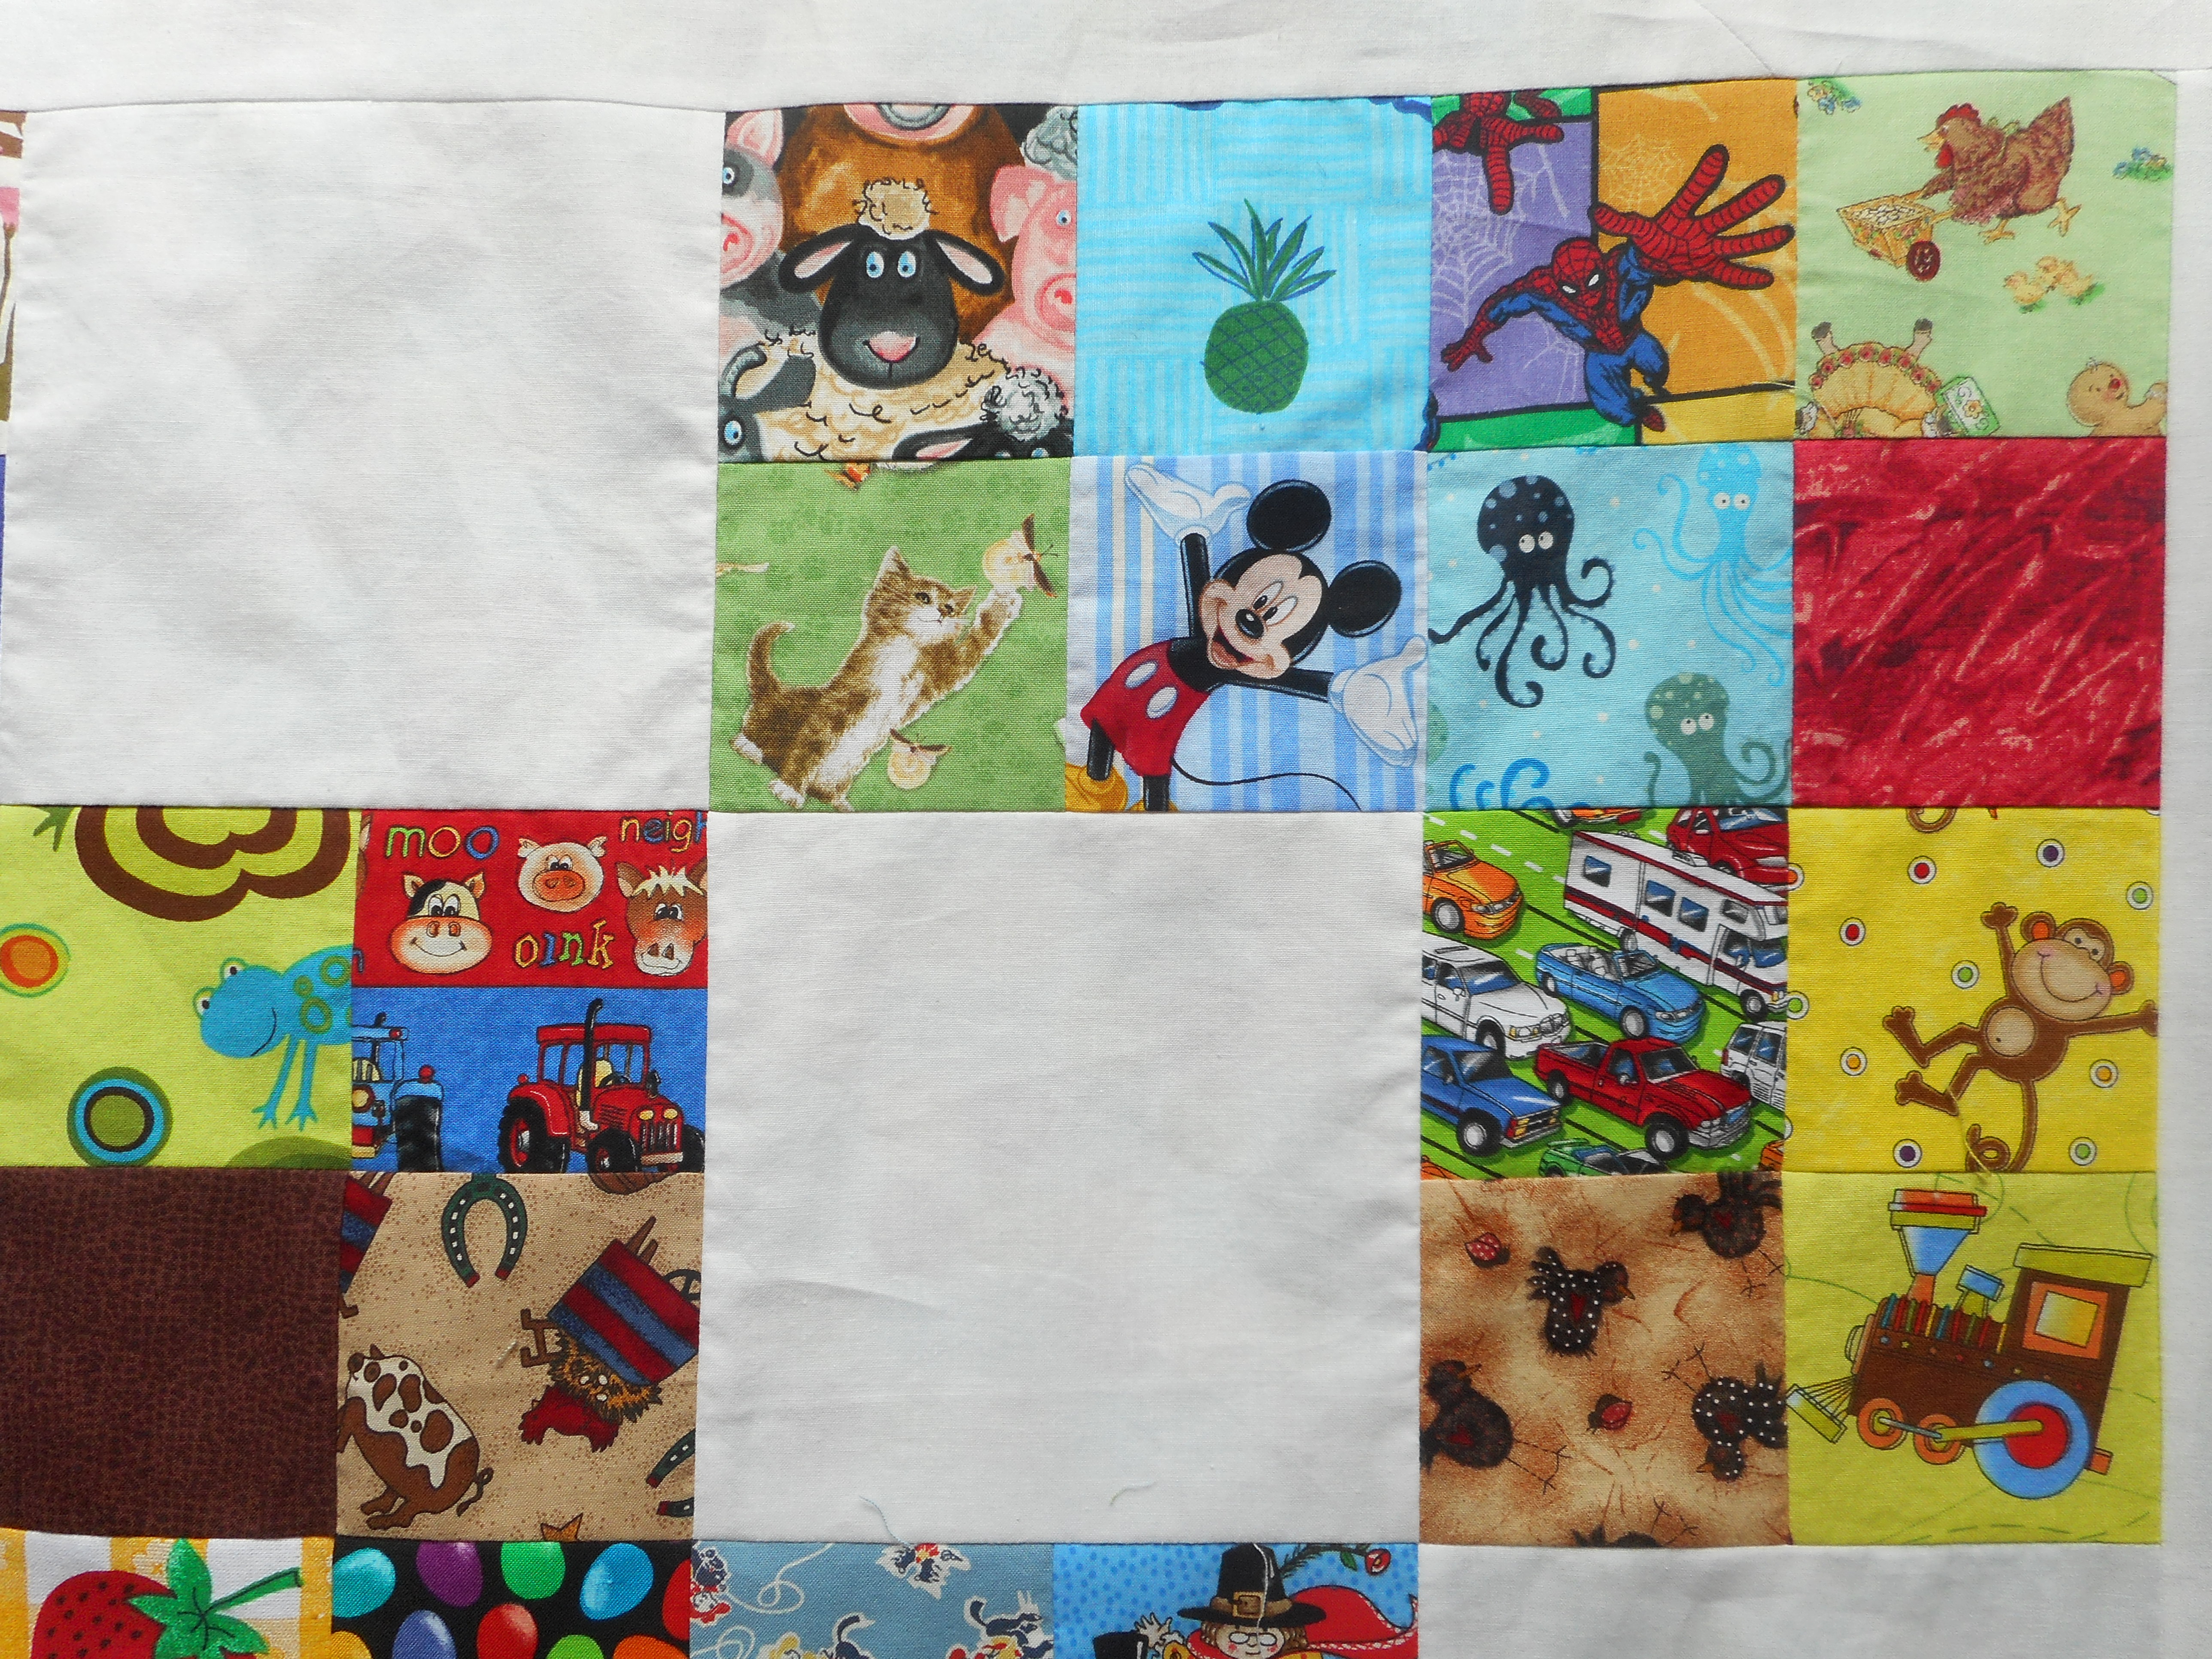
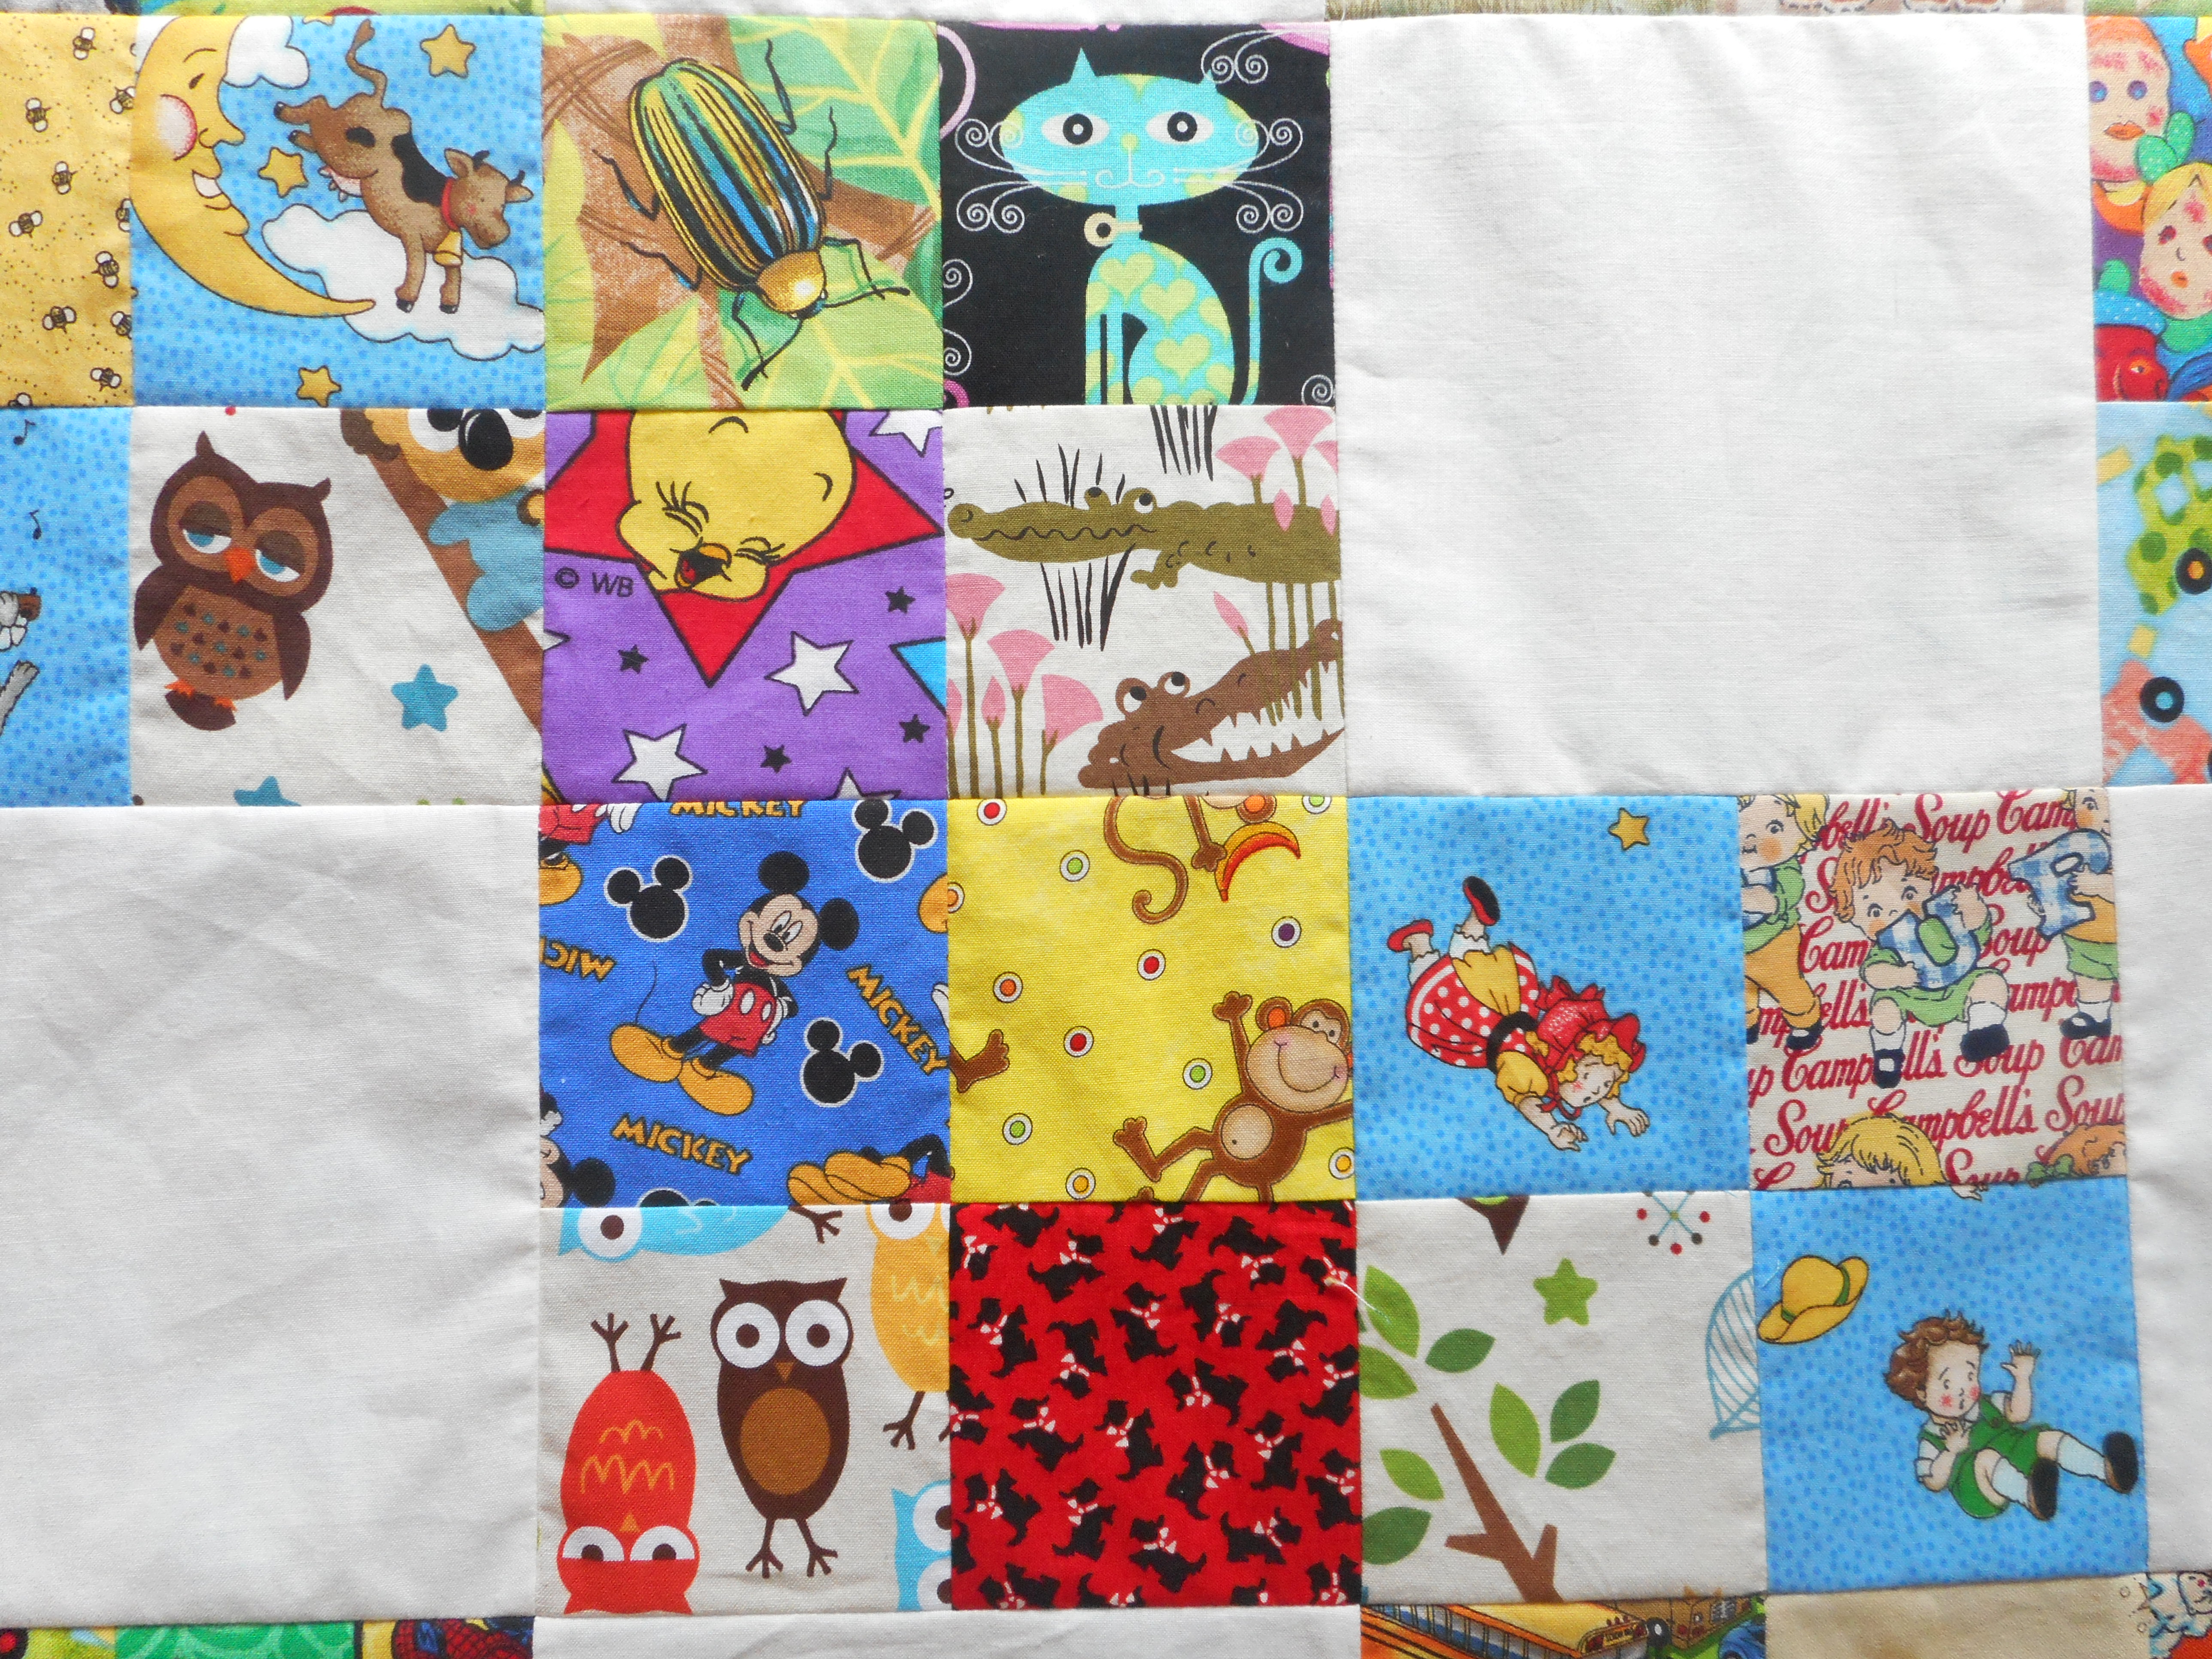
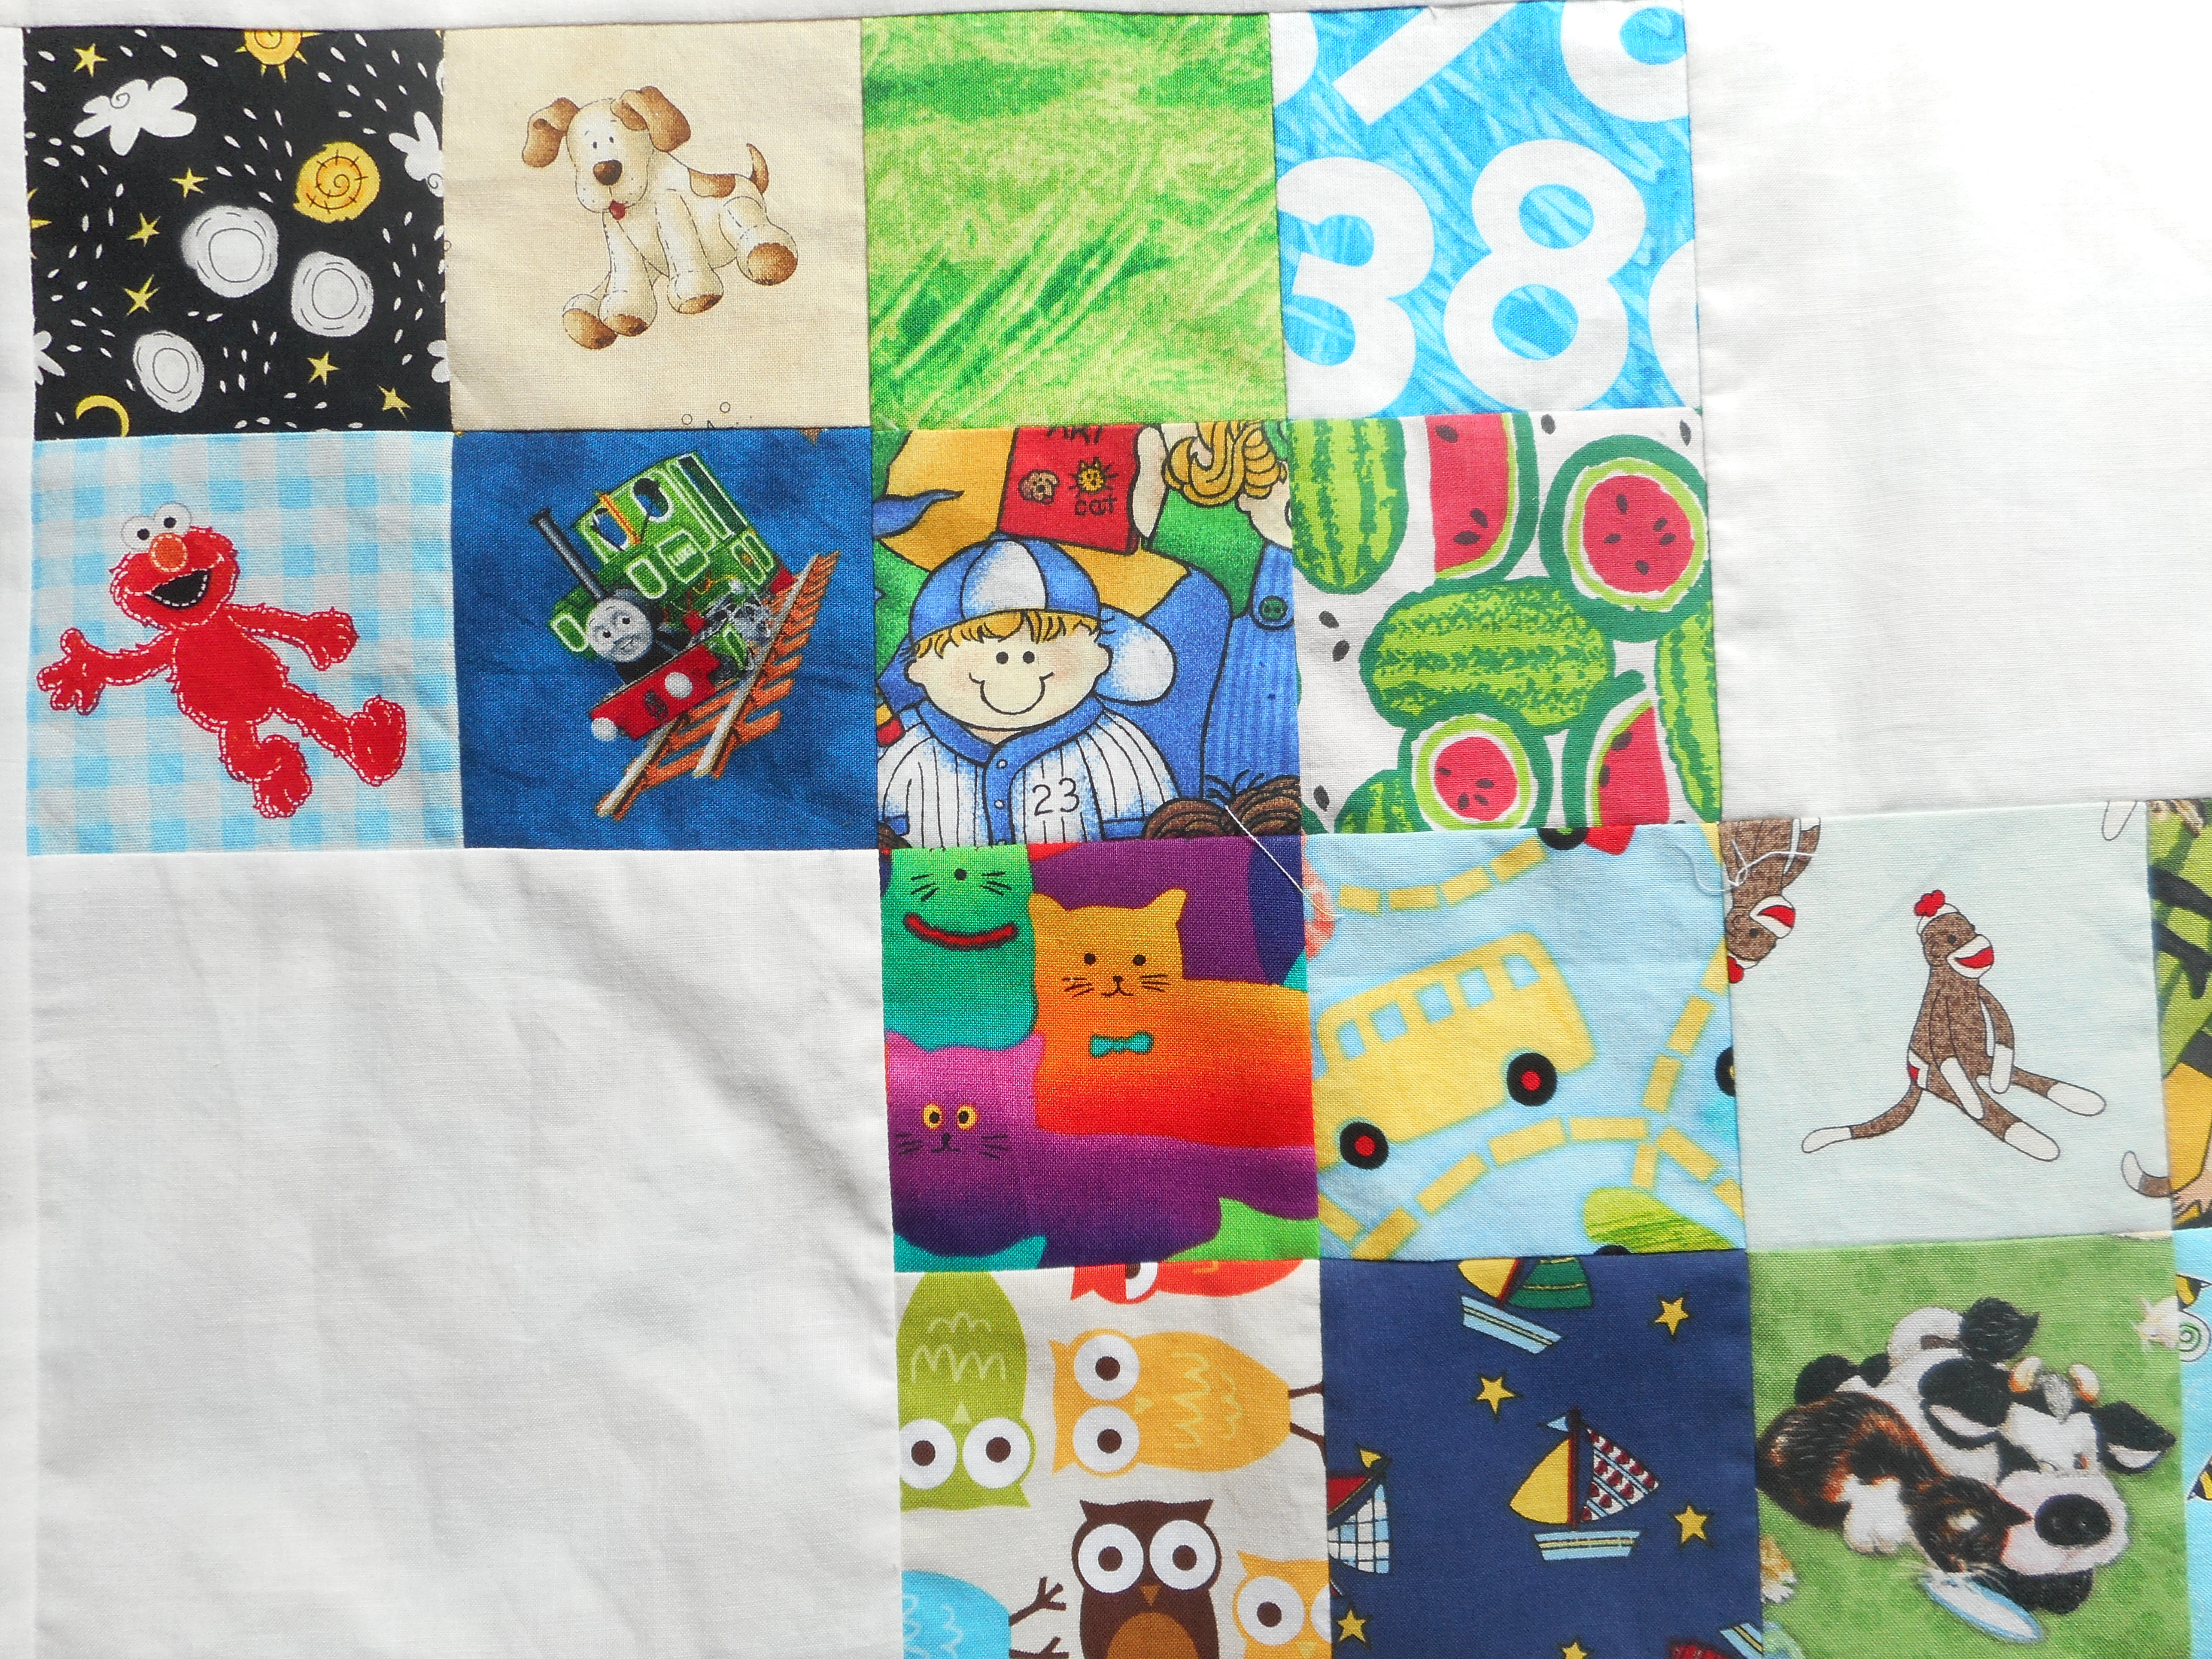
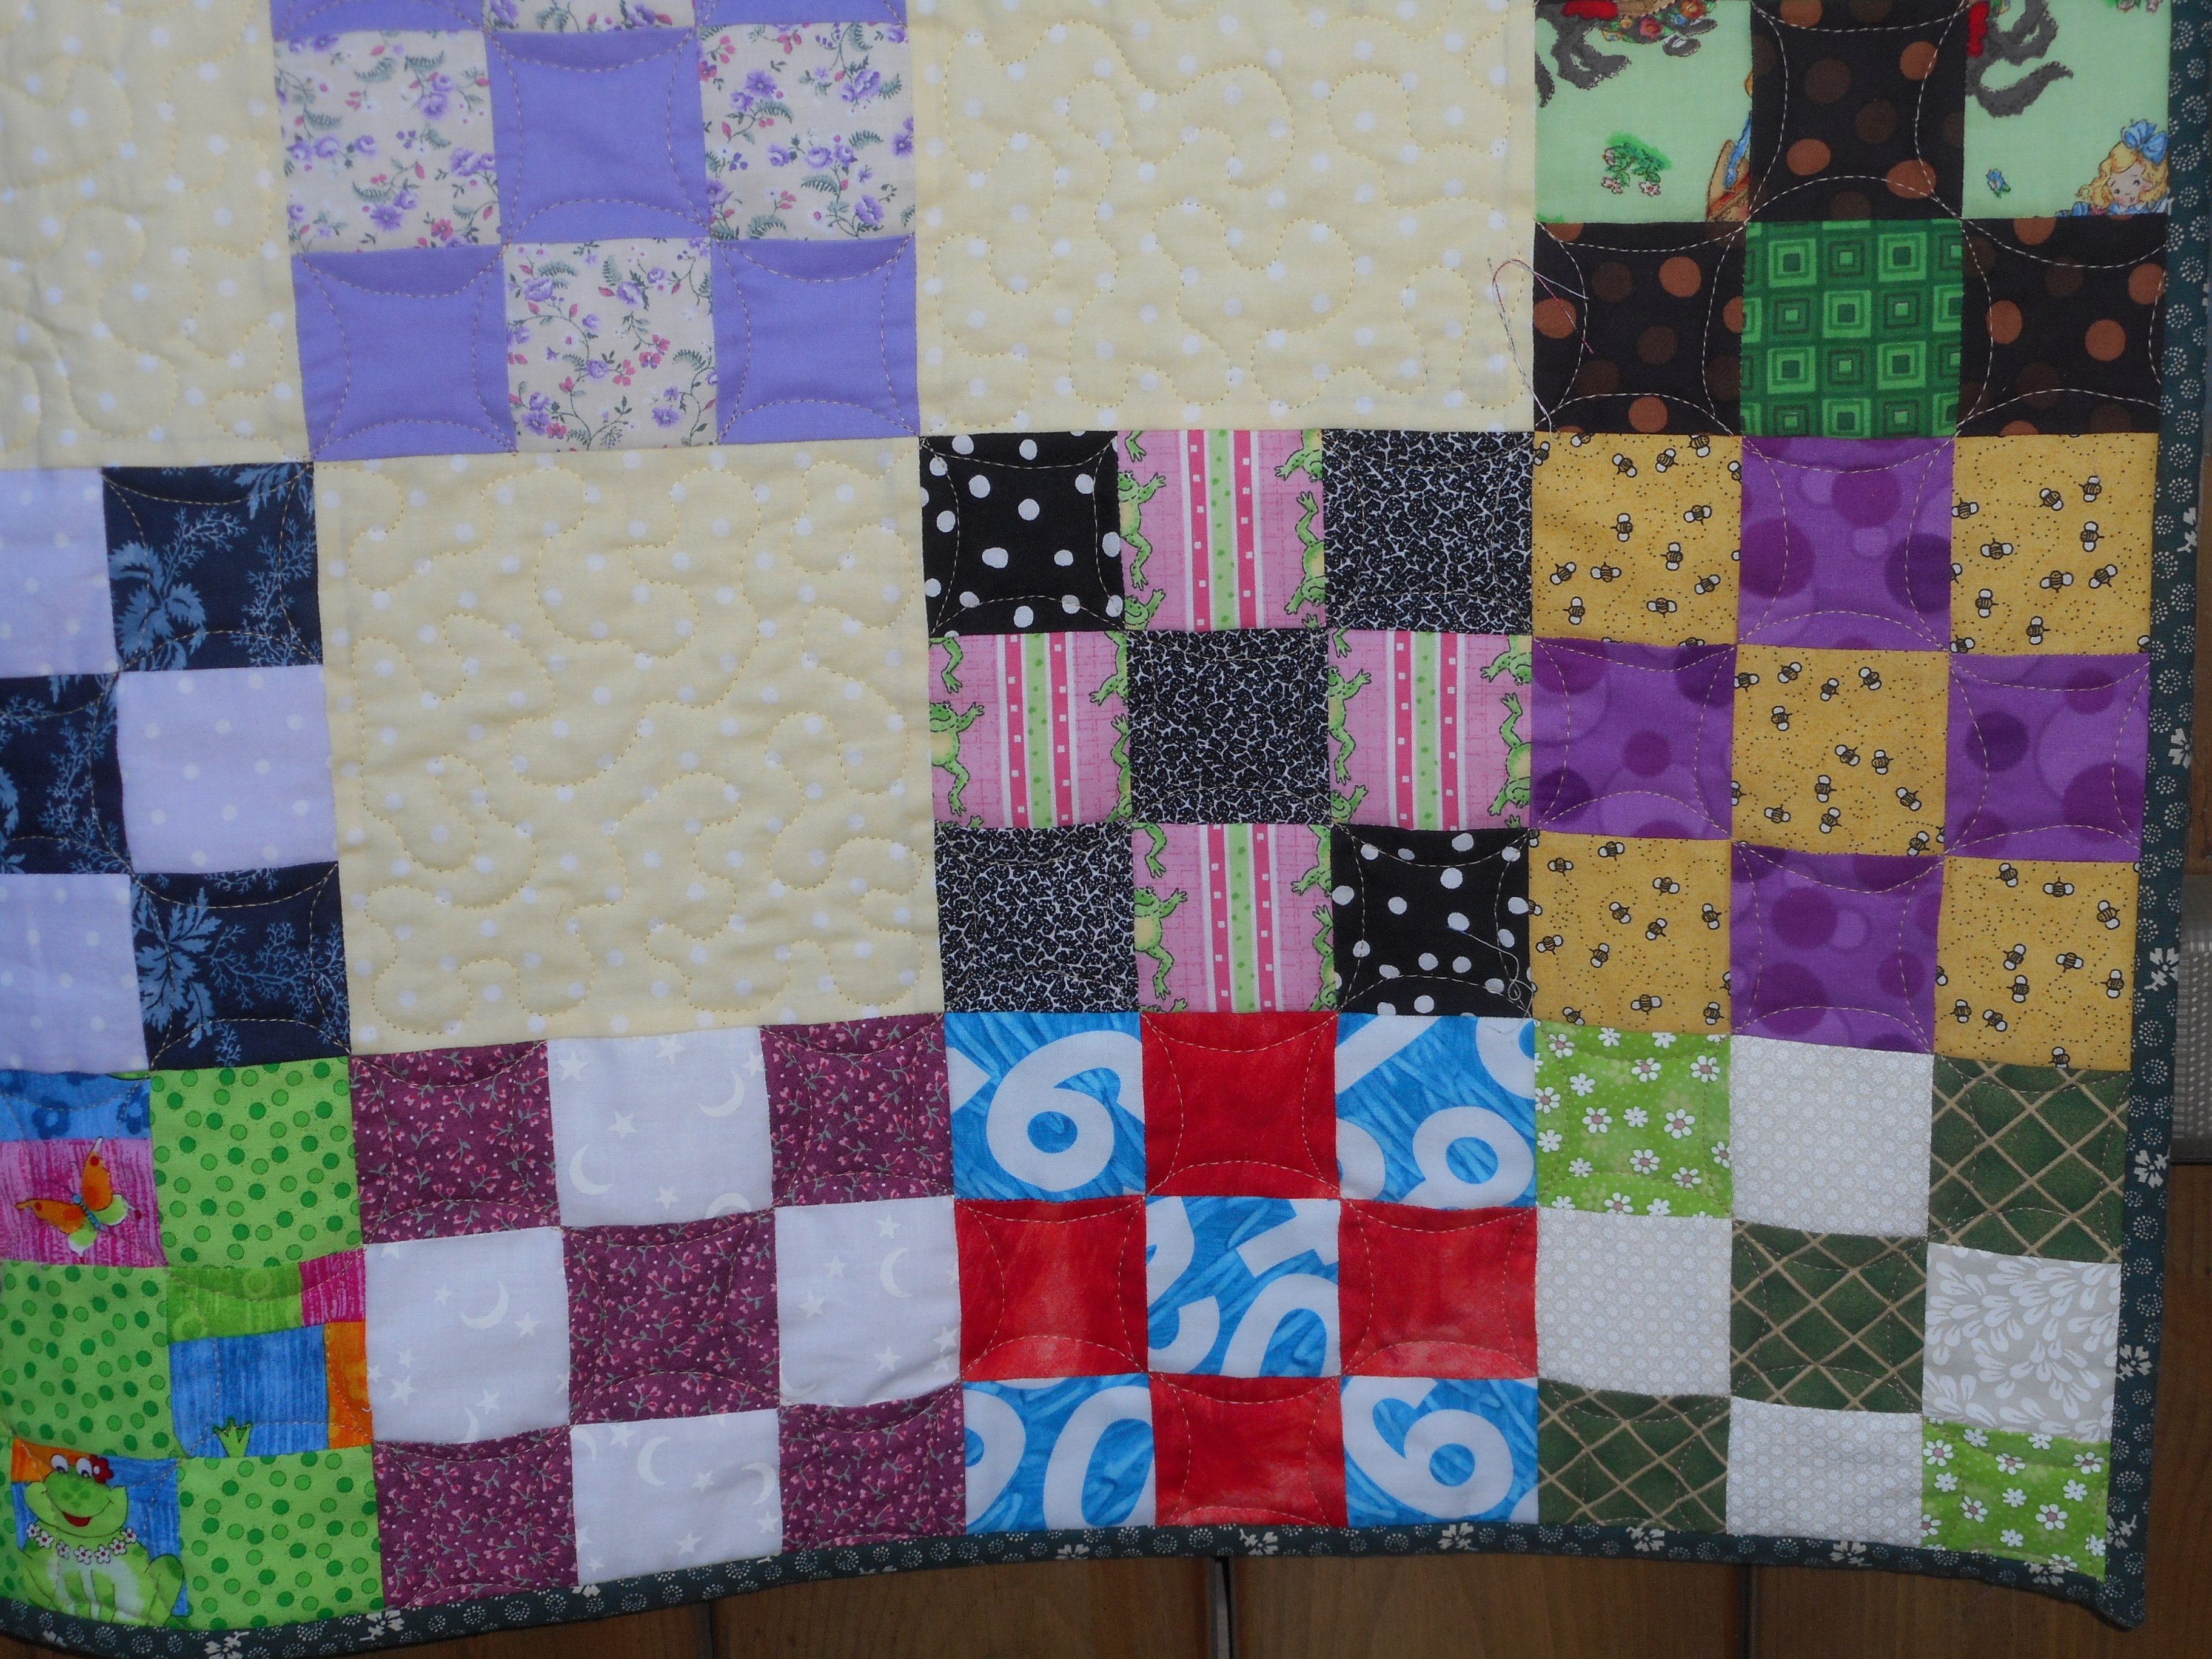
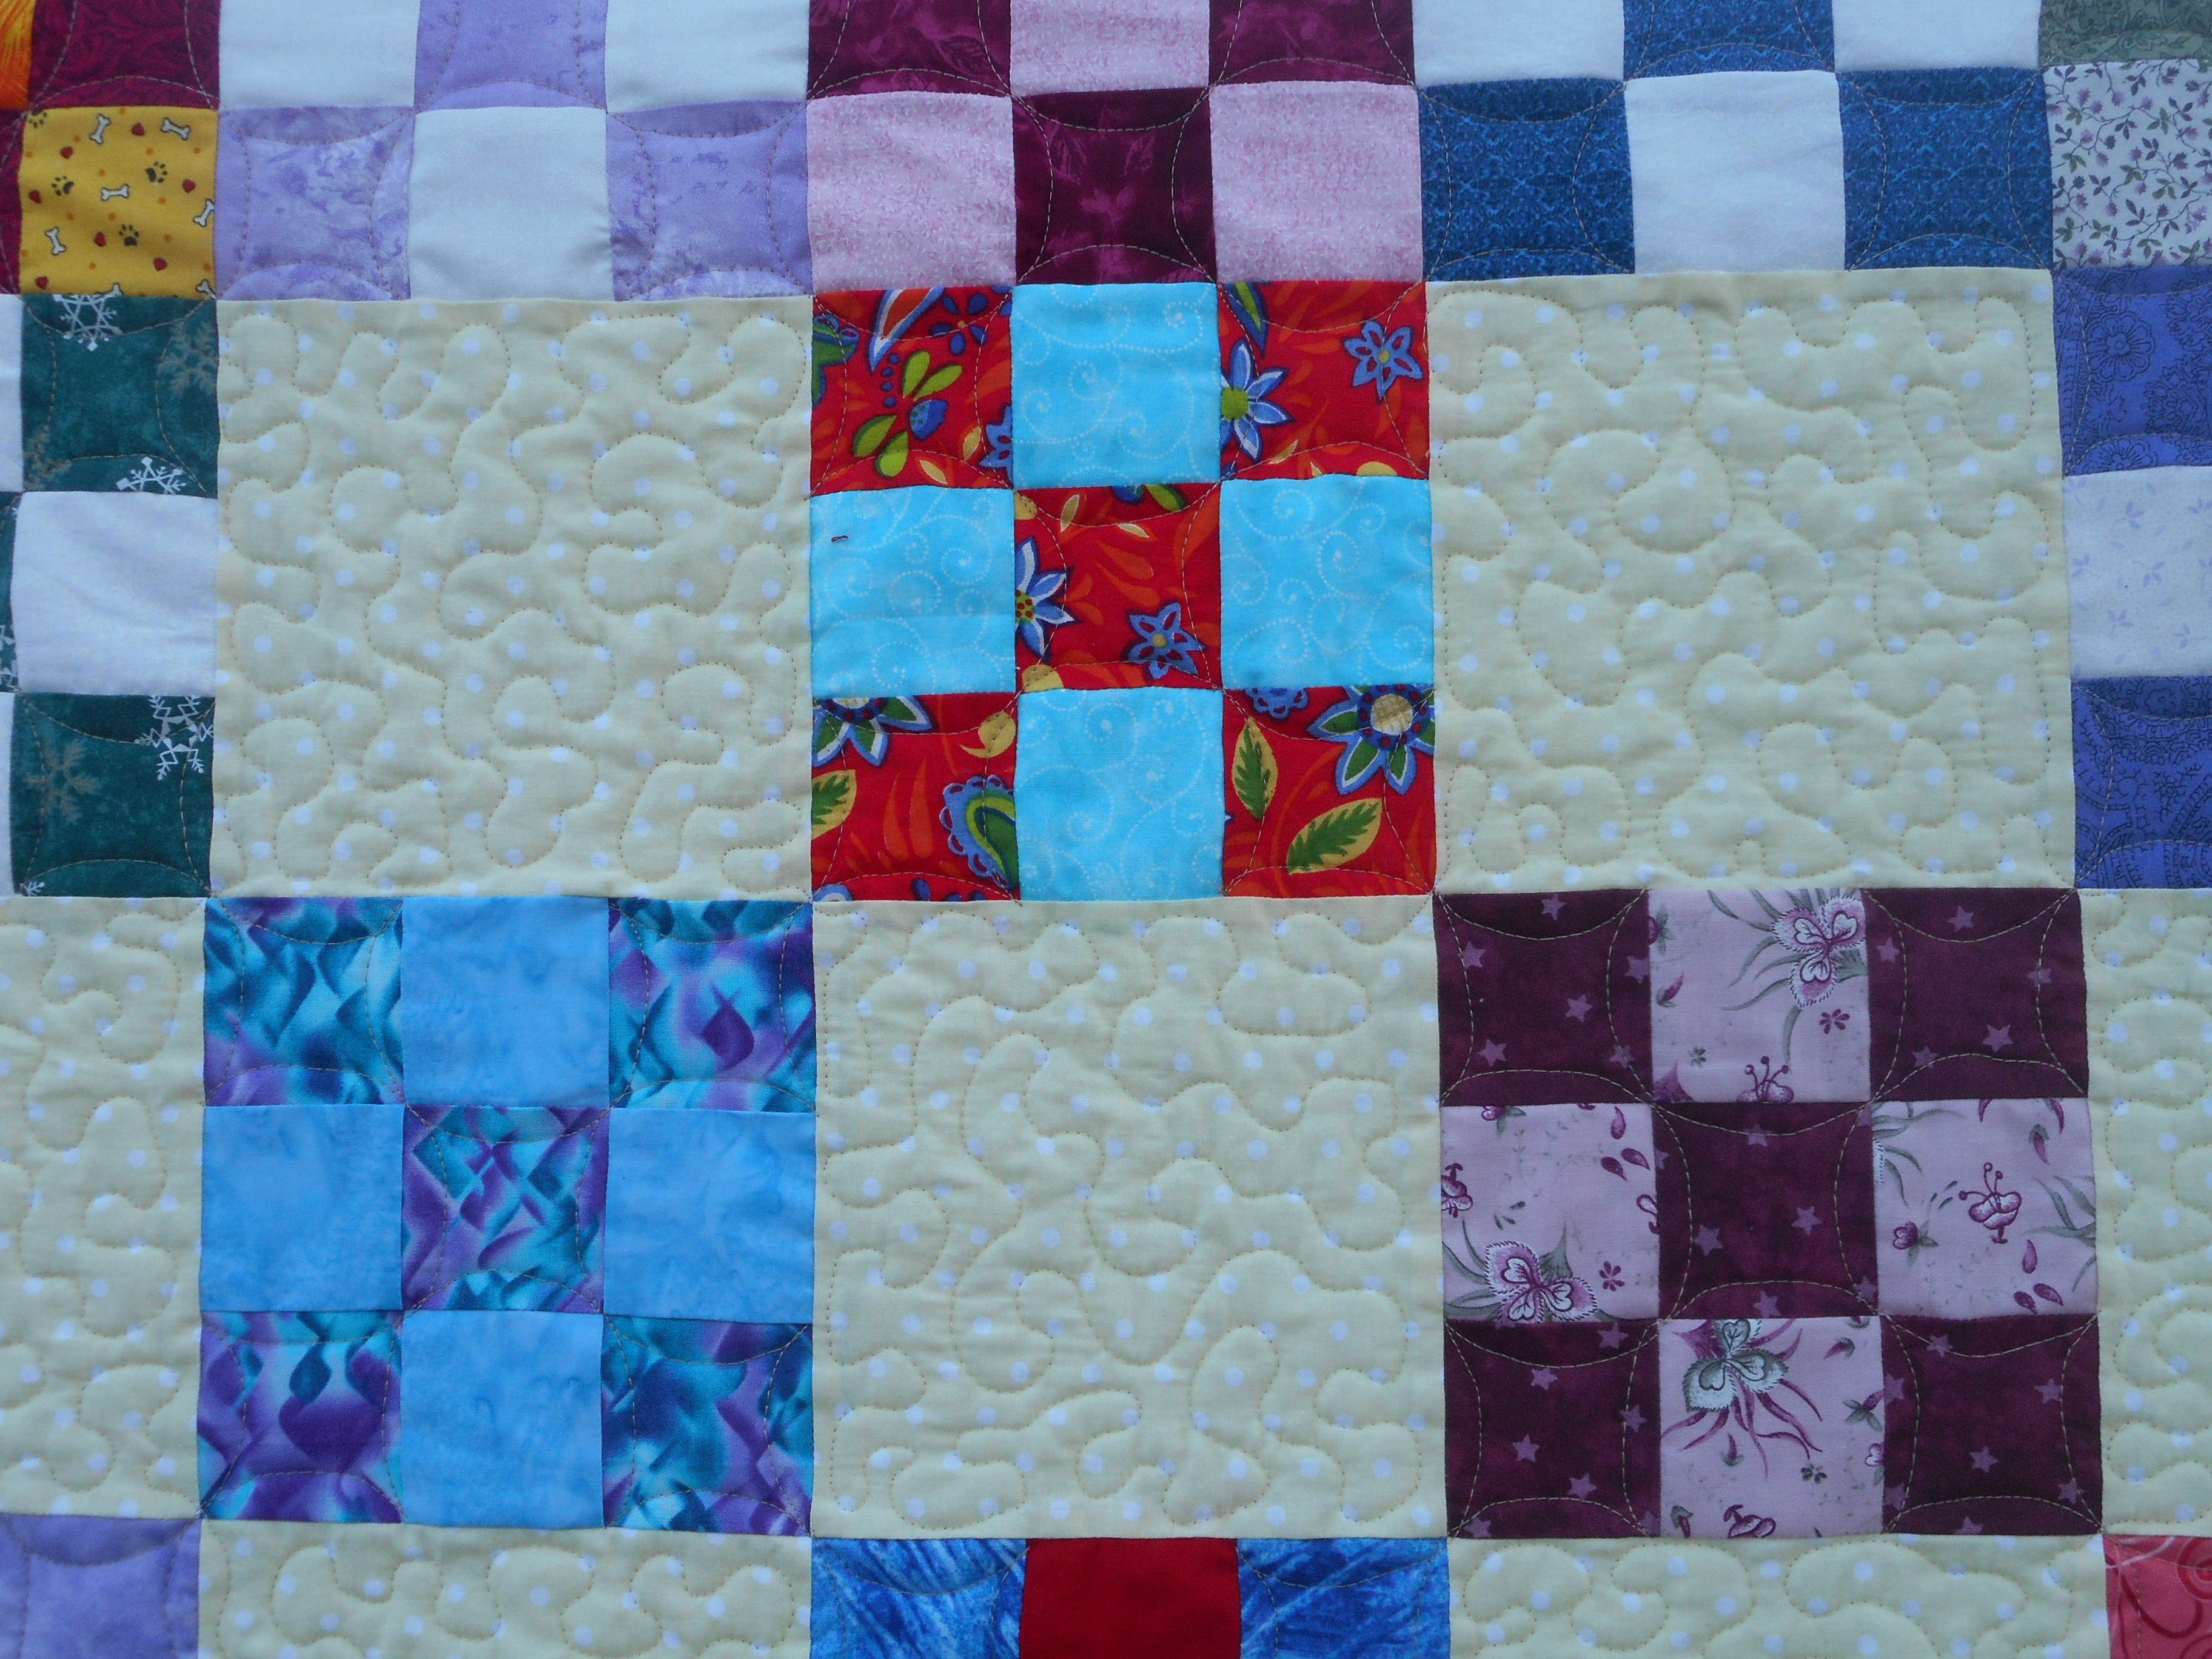
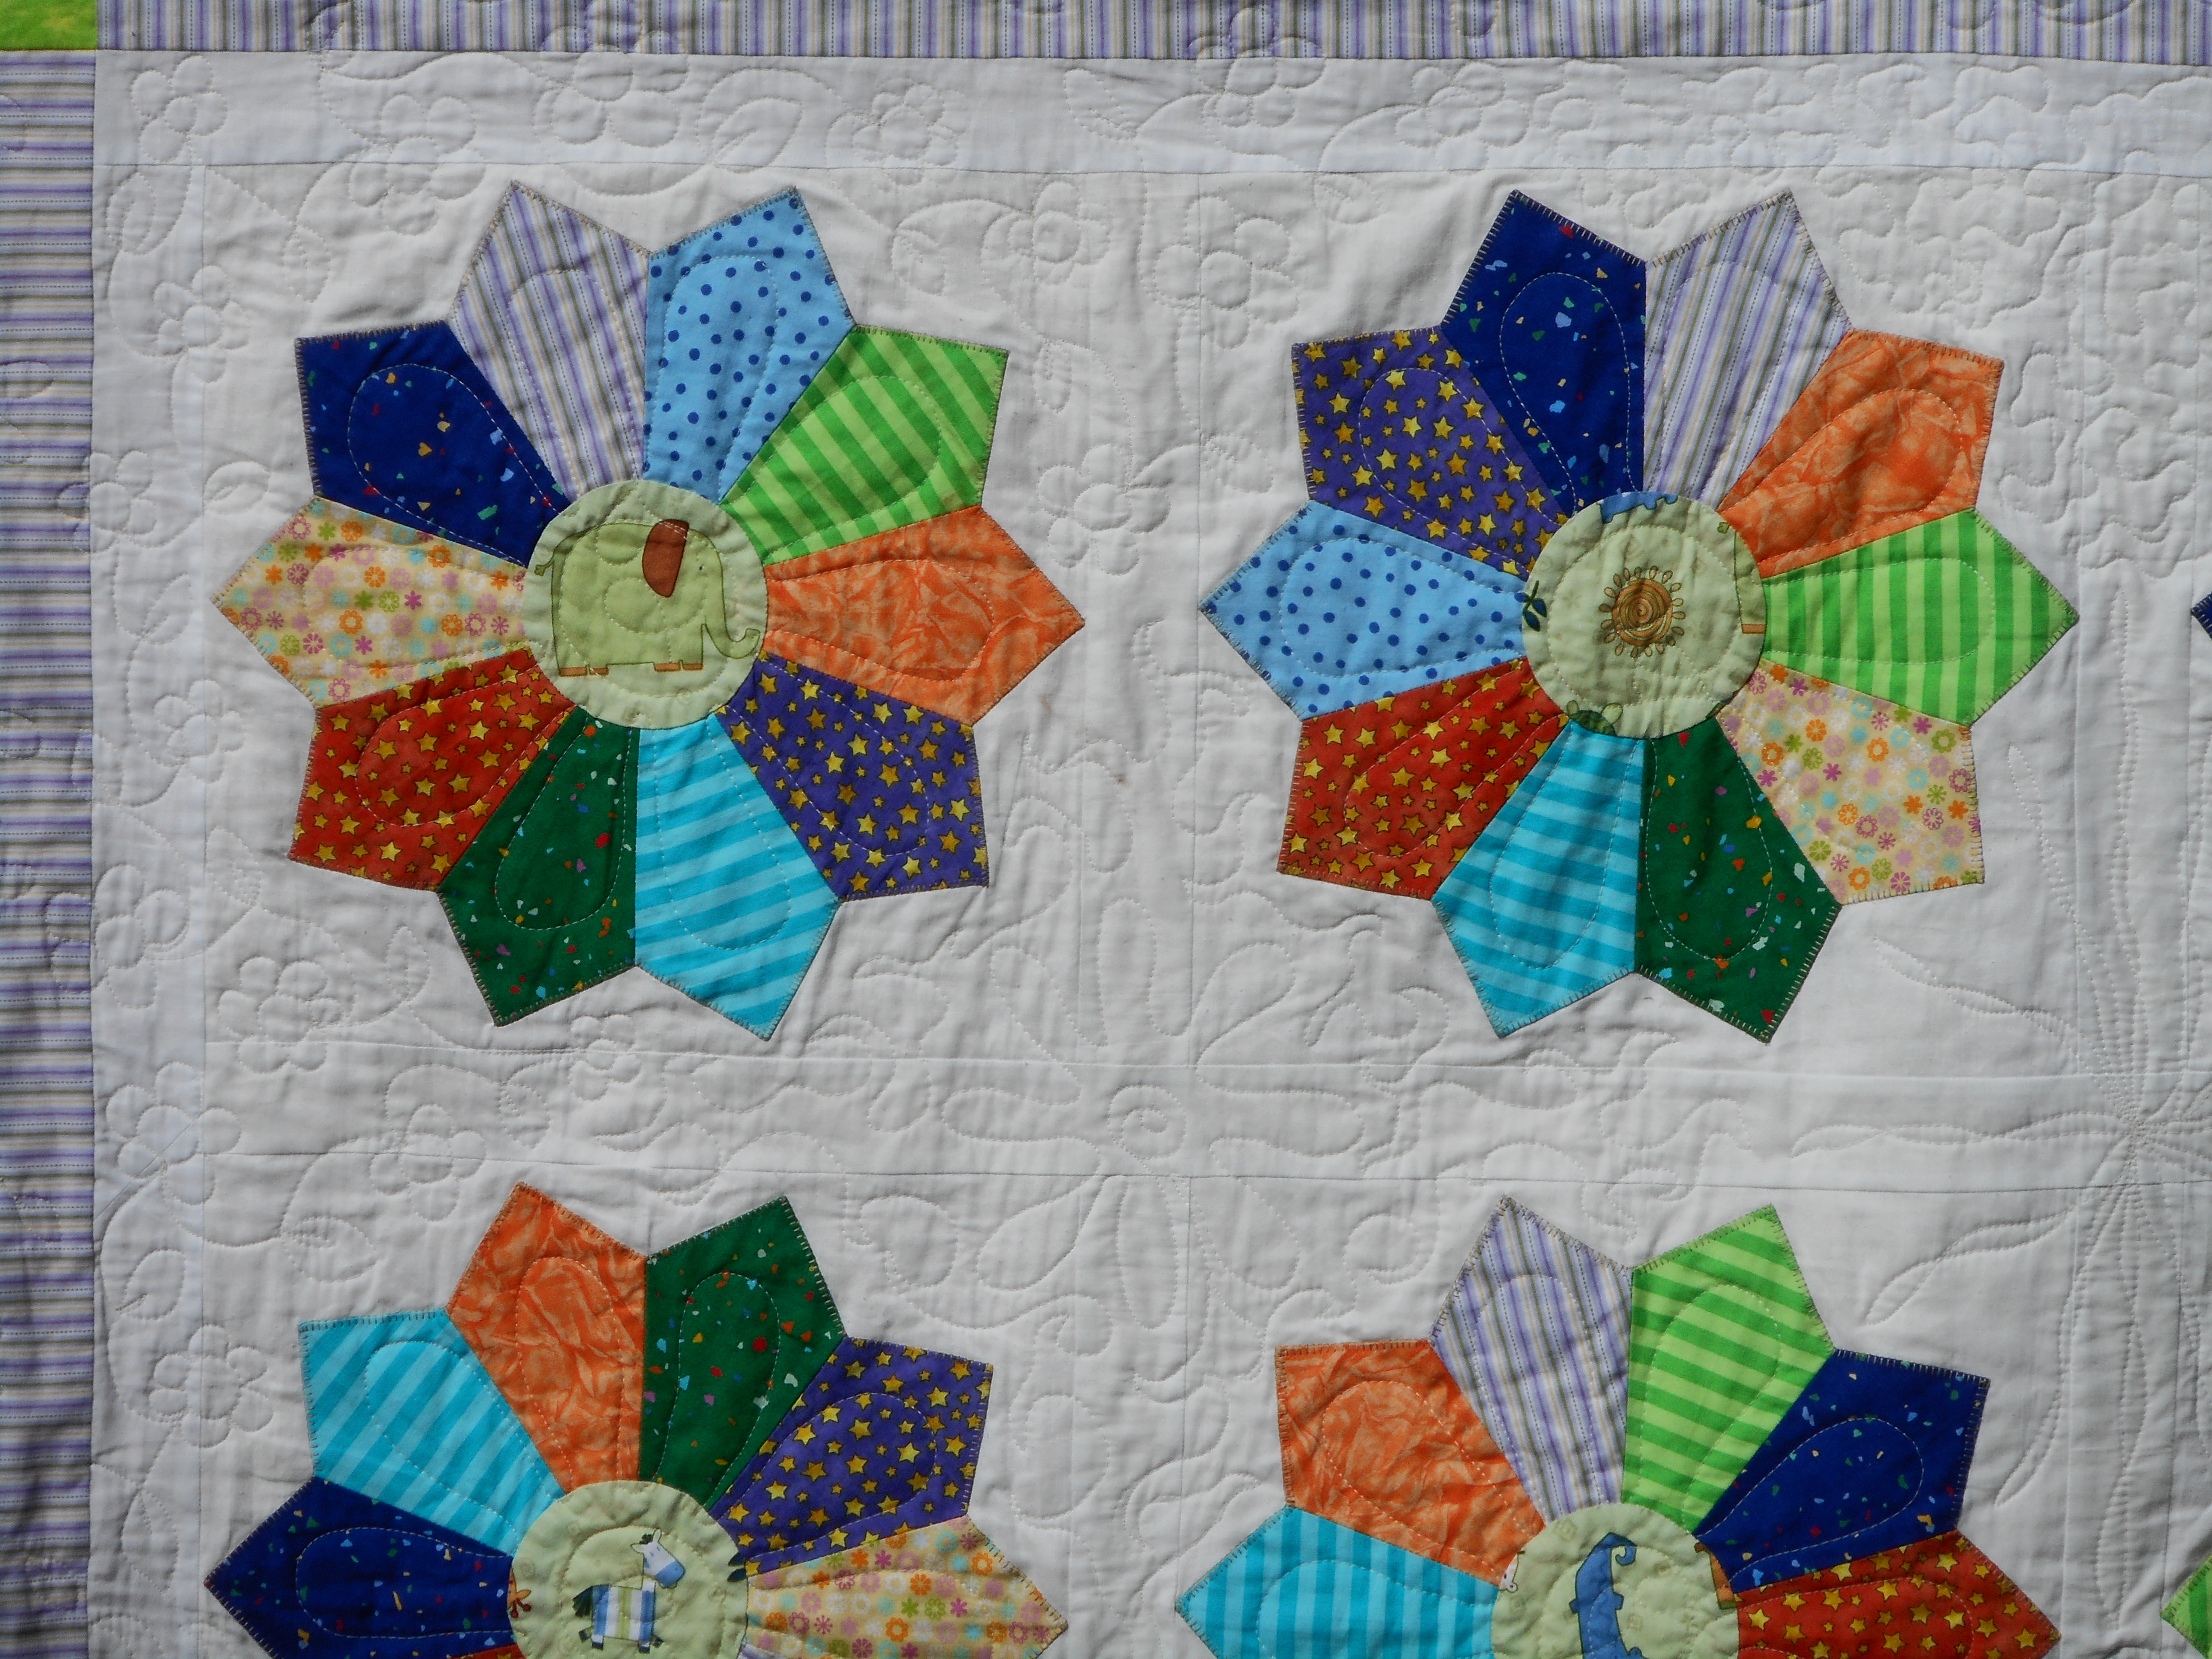
Close-up of blocks
Alligator Block

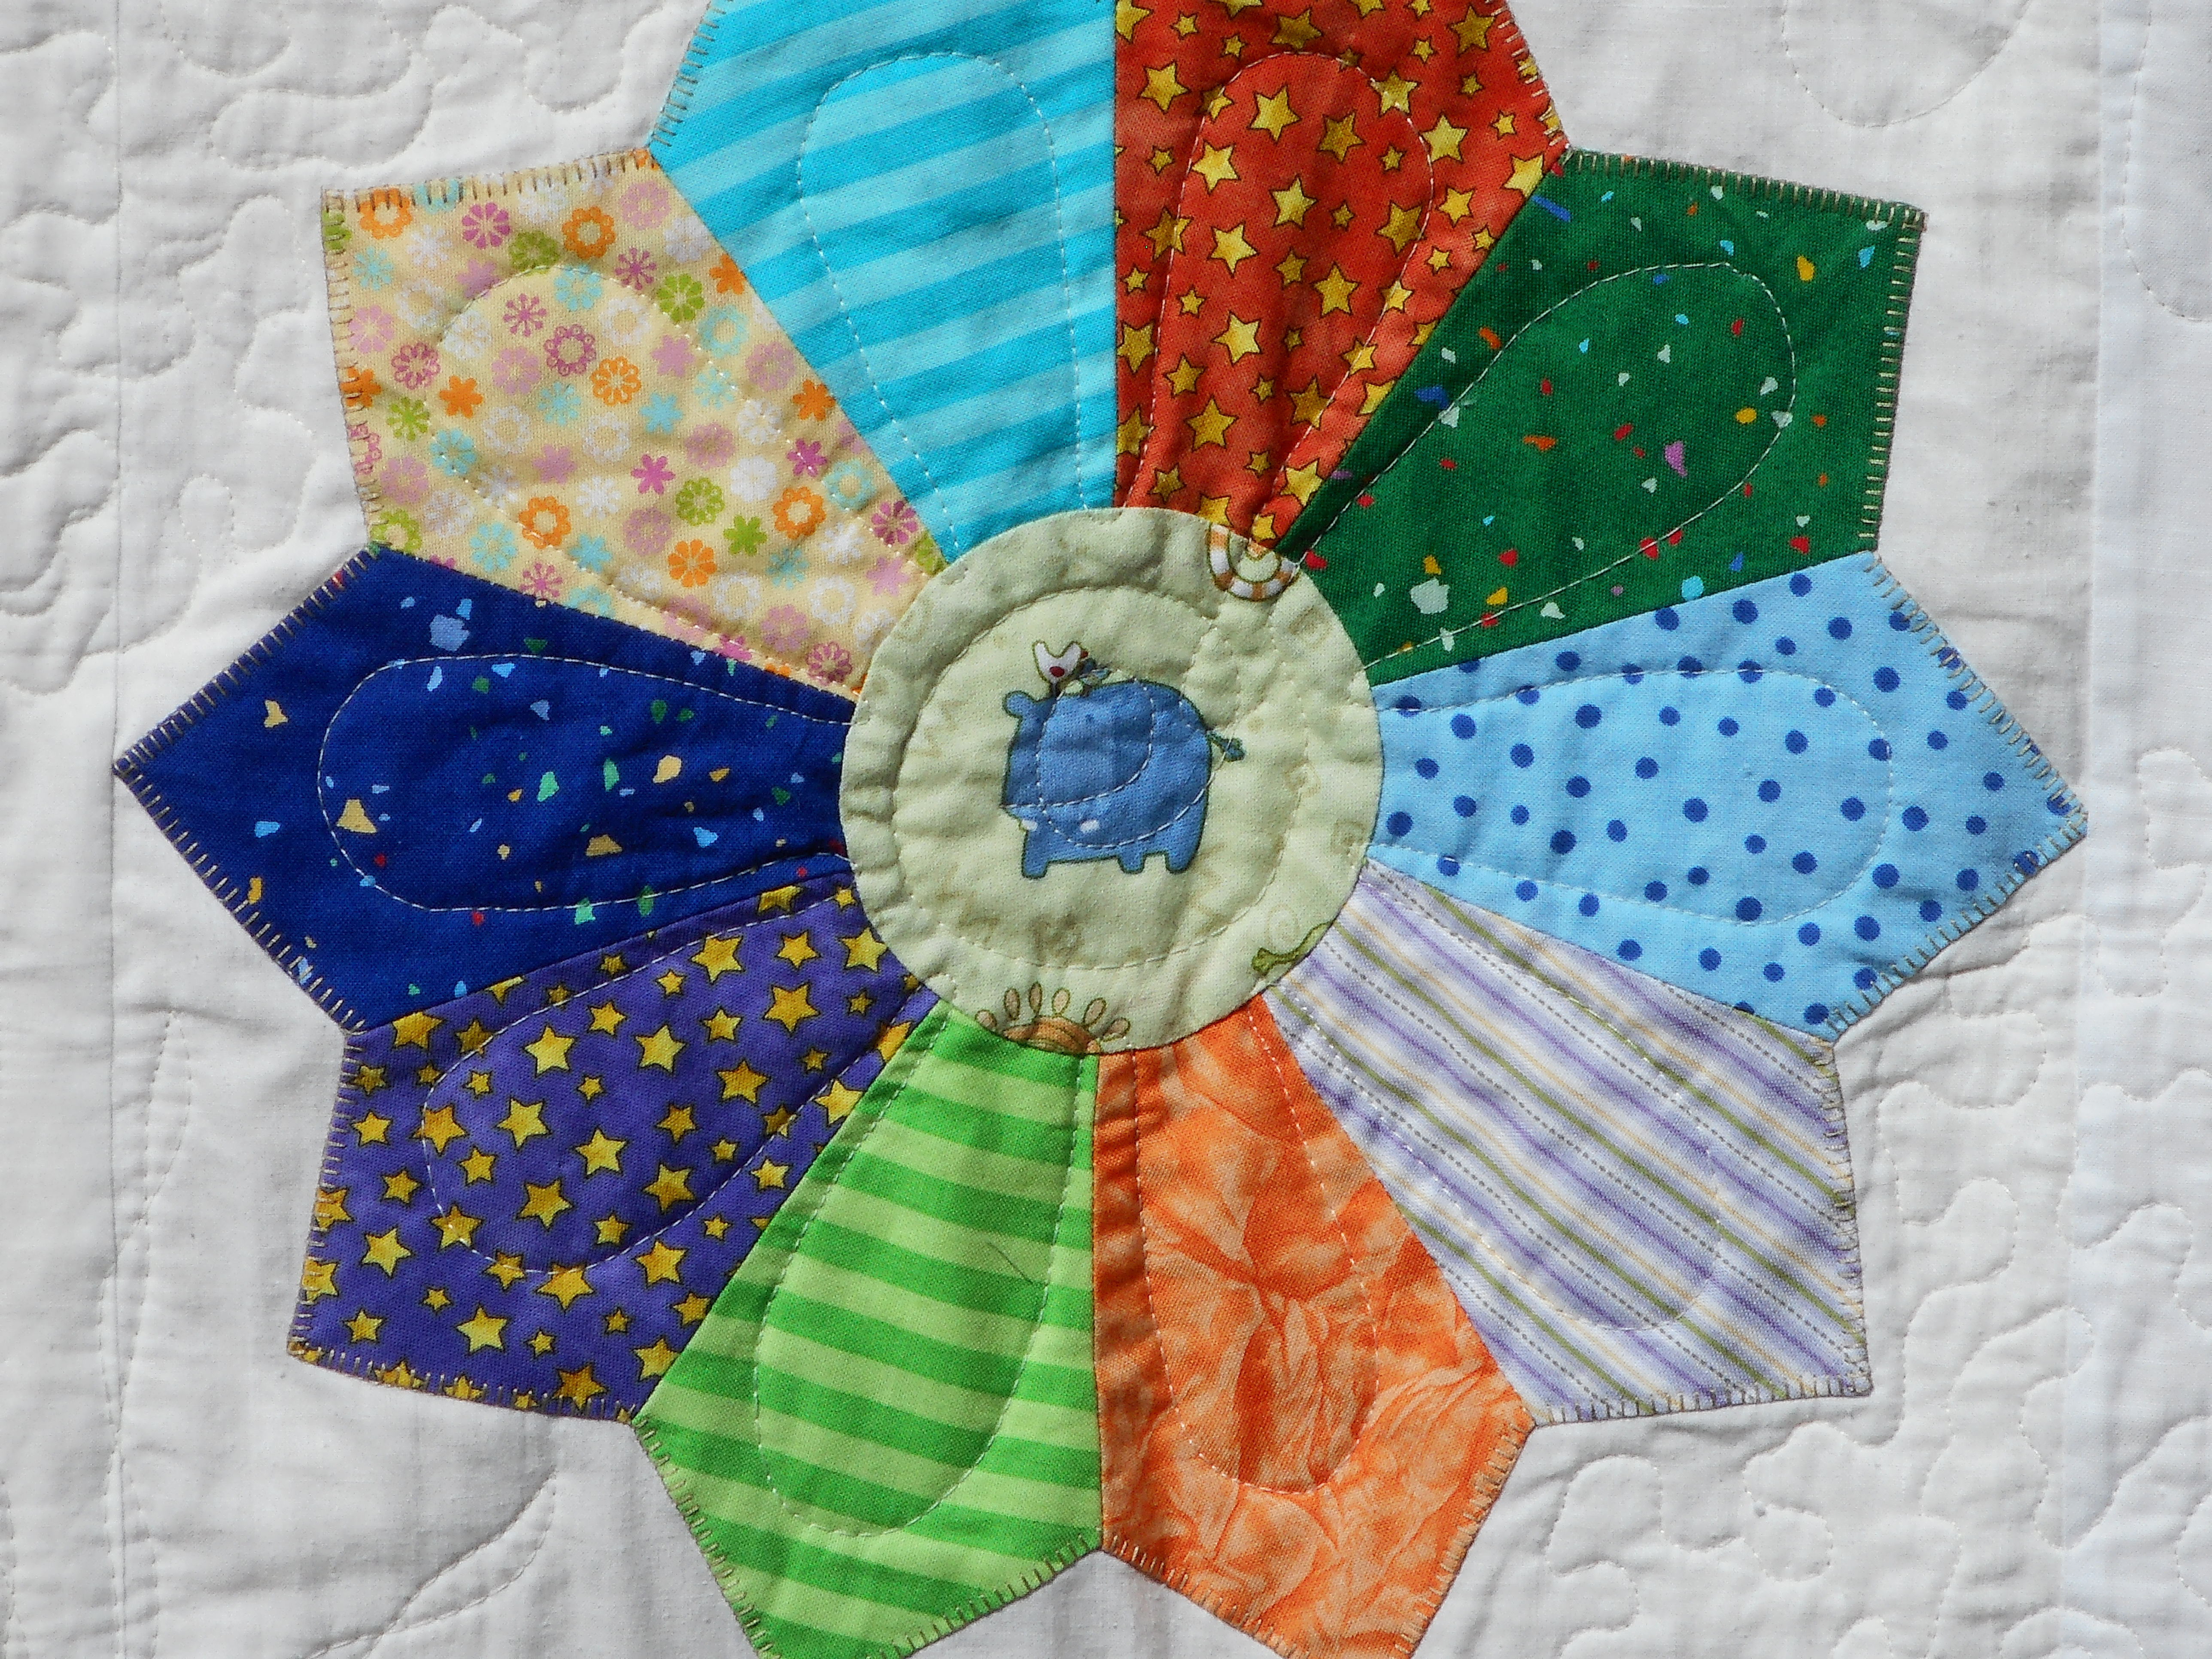
Hippo Block
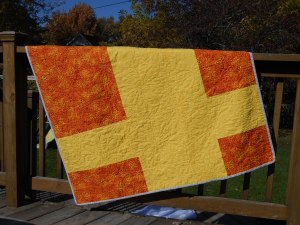
Pieced Back
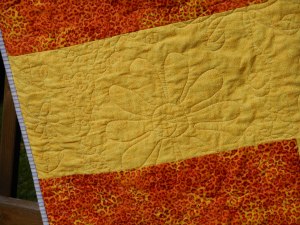
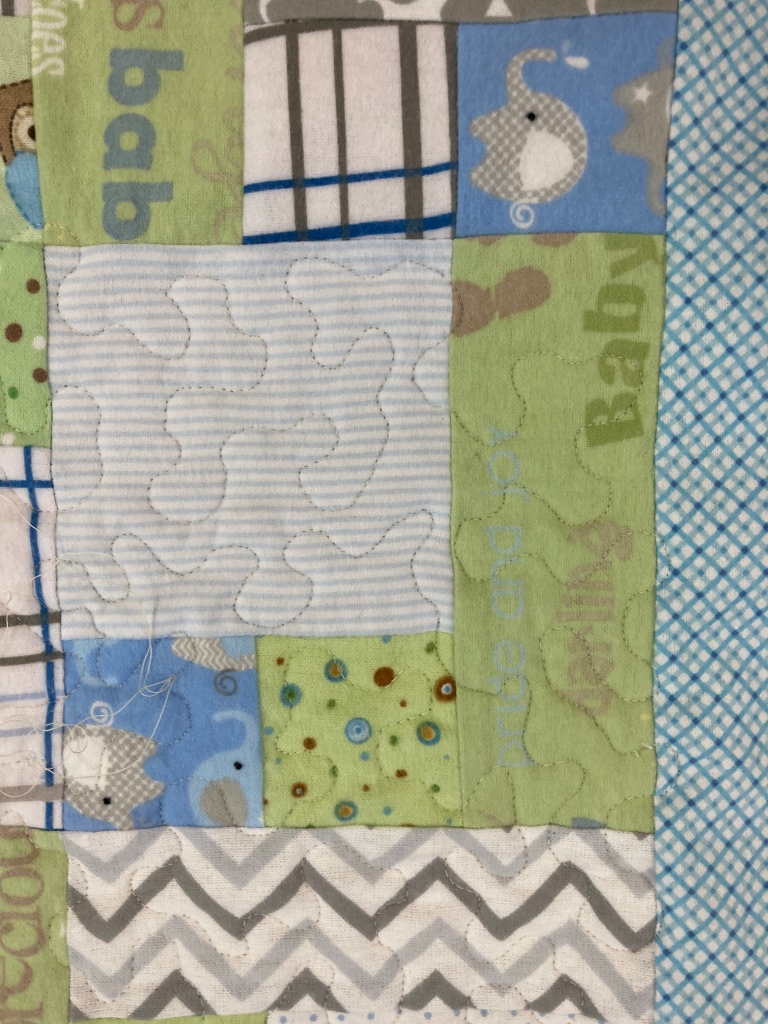
Close-up of Quilting from Back

Dresdan Zoo on Rail
The quilt will be sent off to our niece in California, who is not expecting it. But, her brother was the recipient of our first baby quilt collaboration, so it will be a nice surprise when she receives it.
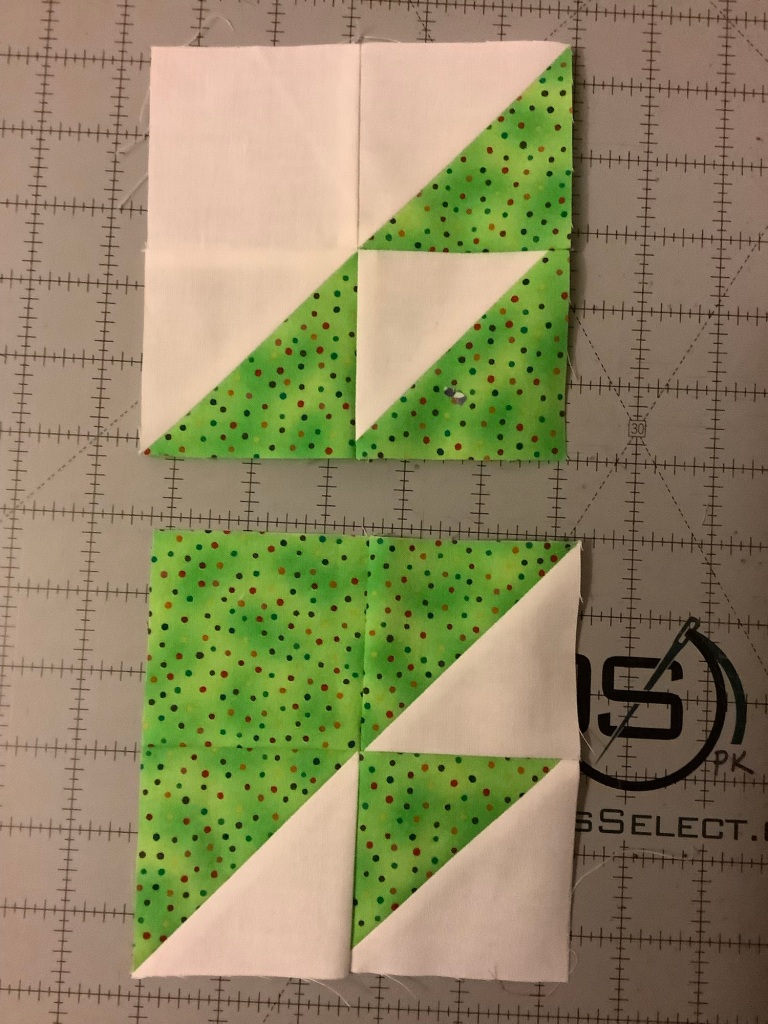
Next up…a bowtie baby quilt for my nephew, my oldest sister’s son. He has a baby son born earlier this summer. We’ve already sewn together the blocks and laid them out in a pattern. My older sister and I are going on a retreat next week-end, where we will finish stitching the blocks together. Then, off to my baby sister for the final quilting touches. And…there’s a wedding on the horizon, so we’ve been talking about collaborating on a wedding quilt.
Happy Quilting!
P.S. I’d love to hear what you think of the photography. I am not a professional, not by a long shot. But, I have been reading up on photography, took a lecture at AQS Grand Rapids, listened to a photography webinar, and had a lengthy conversation with a photographer friend at work. I have been playing around with my digital camera settings and feel that these pictures show the colors of the quilt well. I even think I implemented the rule of thirds into the shots. I’d love to hear your feedback.


You must be logged in to post a comment.